17 Spring Cake Ideas Bursting with Seasonal Flavor is your go-to guide for sweet treats that capture the essence of springtime. As the days grow warmer and the flowers start to bloom, there’s no better way to celebrate the season than with a cake that’s as fresh and vibrant as the world around you. From garden-inspired flavors to fruity layers and pastel-perfect frostings, these spring cake recipes are guaranteed to brighten your dessert table.
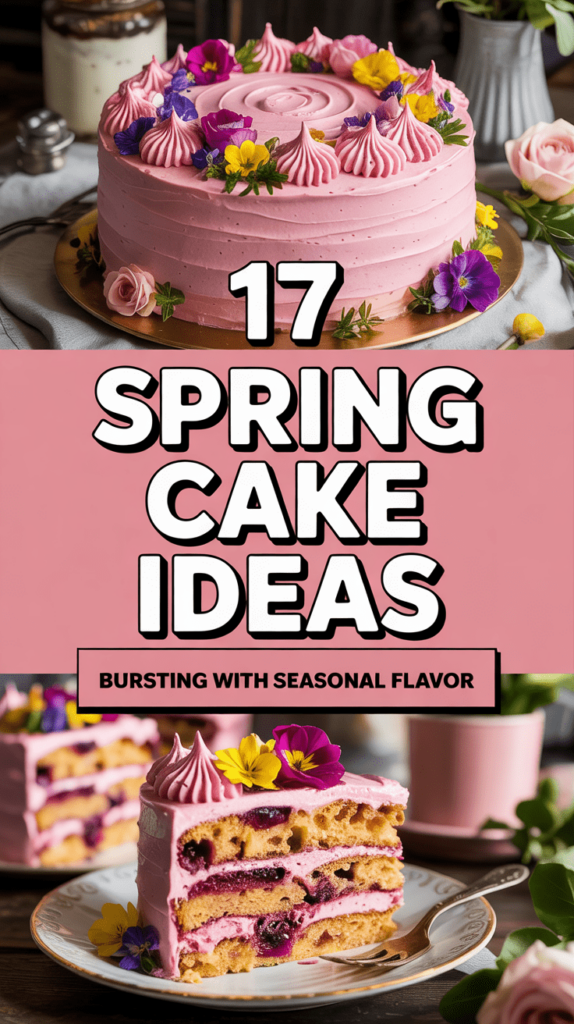
Whether you’re planning a spring birthday party, Easter brunch, Mother’s Day celebration, or simply craving something light and lovely, this collection has you covered. Picture fluffy lemon cakes, strawberry shortcake layers, floral-infused sponges, and berry-packed beauties that are as pleasing to the eye as they are to the palate. These cakes are designed to celebrate all things fresh, colorful, and flavorful—just like spring itself.
Each recipe in this roundup brings a unique twist—some focus on fresh fruit, others lean into creamy fillings or delicate decorations—but all share one goal: to bring joy with every bite. Whether you’re an experienced baker or just getting started, you’ll find inspiration here that’s easy to recreate and impossible to resist.
So, dust off your cake pans, pull out your mixing bowls, and dive into this irresistible lineup of springtime desserts. Let the baking (and the blooming) begin!
Pistachio and Rose Water Cake
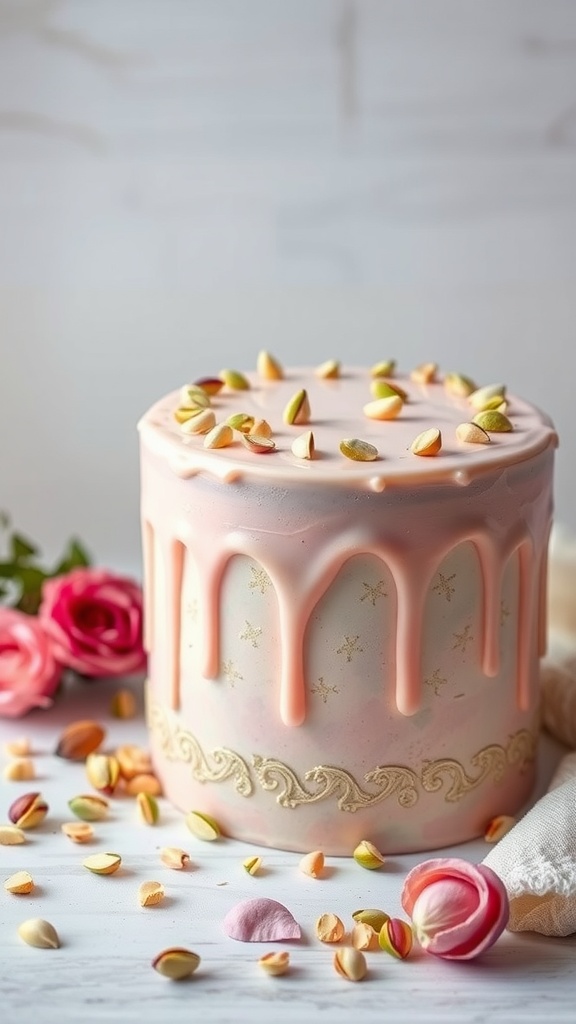
Indulge in the delightful flavors of spring with a Pistachio and Rose Water Cake. This cake combines the rich, nutty taste of pistachios with the delicate floral notes of rose water, making it a refreshing treat that’s perfect for any gathering. Its light and moist texture paired with the subtle sweetness creates an enjoyable dessert experience.
Not only does this cake taste delightful, but it’s also quite simple to prepare. With just a few ingredients and easy steps, you can whip up this flavorful cake in no time, impressing your friends and family with a unique dessert that truly celebrates the essence of spring.
Ingredients
- 1 cup unsalted pistachios, finely ground
- 1 cup all-purpose flour
- 1 teaspoon baking powder
- 1/4 teaspoon salt
- 1/2 cup unsalted butter, softened
- 1 cup granulated sugar
- 3 large eggs
- 1/4 cup rose water
- 1 teaspoon vanilla extract
- 1/2 cup milk
- Powdered sugar for dusting (optional)
Instructions
- Preheat your oven to 350°F (175°C) and grease a round cake pan.
- In a bowl, mix the ground pistachios, flour, baking powder, and salt until combined.
- In another bowl, cream the softened butter and sugar together until light and fluffy. Add the eggs, one at a time, mixing well after each addition.
- Stir in the rose water and vanilla extract into the butter mixture. Gradually add the dry ingredients and milk, mixing until smooth.
- Pour the batter into the prepared cake pan and bake for about 30-35 minutes, or until a toothpick inserted comes out clean.
- Allow the cake to cool in the pan for 10 minutes, then transfer it to a wire rack to cool completely. Dust with powdered sugar before serving, if desired.
Lavender Honey Cake
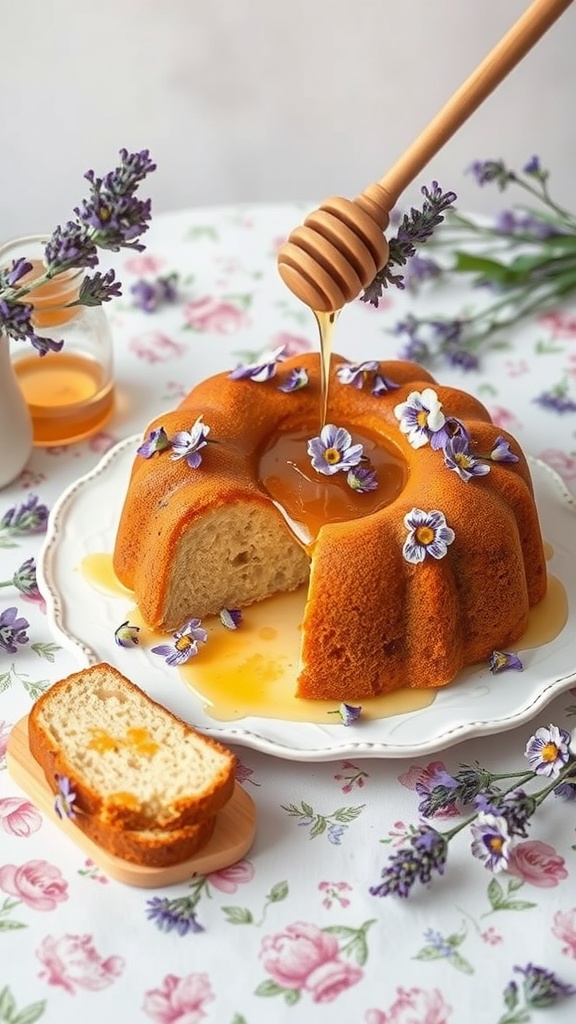
Lavender honey cake is a delightful treat that perfectly captures the essence of spring. With its gentle floral notes and subtle sweetness, this cake is a refreshing change from traditional desserts. It’s simple to make, making it a great choice for both new bakers and seasoned pros looking to try something different.
The combination of lavender and honey creates a unique flavor profile that is both calming and uplifting. This cake is not only delicious but also beautifully aromatic, making it a lovely centerpiece for any spring gathering. Serve it with a drizzle of honey for added sweetness and a sprinkle of edible flowers for a touch of elegance.
Ingredients
- 1 ½ cups all-purpose flour
- 1 tsp baking powder
- ½ tsp baking soda
- ¼ tsp salt
- 1 cup sugar
- ½ cup unsalted butter, softened
- 2 large eggs
- 1 cup buttermilk
- 2 tbsp dried lavender buds
- 1/2 cup honey
Instructions
- Preheat your oven to 350°F (175°C) and grease a bundt pan.
- In a bowl, mix together the flour, baking powder, baking soda, and salt. Set aside.
- In a separate bowl, cream together the sugar and butter until light and fluffy. Beat in the eggs one at a time, then stir in the buttermilk, lavender buds, and honey.
- Gradually add the flour mixture to the wet ingredients, mixing until just combined.
- Pour the batter into the prepared bundt pan and bake for 30-35 minutes, or until a toothpick inserted into the center comes out clean.
- Let the cake cool for 10 minutes in the pan before transferring it to a wire rack to cool completely.
- Drizzle with honey before serving and enjoy!
Coconut Lime Cupcakes

These Coconut Lime Cupcakes are a delightful way to celebrate the flavors of spring. The combination of light coconut and zesty lime creates a refreshing treat that feels both tropical and cheerful. They’re surprisingly simple to whip up, making them a great option for gatherings or a sweet pick-me-up at home.
The fluffy cupcake base is infused with coconut milk, while the creamy lime frosting adds a burst of citrusy sweetness. Topped off with a sprinkle of lime zest, these cupcakes are not only delicious but also a feast for the eyes. Perfect for any springtime occasion!
Ingredients
- 1 ½ cups all-purpose flour
- 1 cup granulated sugar
- 1 ½ teaspoons baking powder
- ½ teaspoon salt
- ½ cup unsalted butter, softened
- 2 large eggs
- ½ cup coconut milk
- 1 teaspoon vanilla extract
- 1 tablespoon lime zest
- 1 cup powdered sugar
- 2 tablespoons lime juice
- ½ cup heavy cream
Instructions
- Preheat the oven to 350°F (175°C) and line a cupcake pan with liners.
- In a large bowl, mix together flour, sugar, baking powder, and salt. Add softened butter and mix until crumbly.
- Beat in eggs, coconut milk, vanilla extract, and lime zest until smooth.
- Pour the batter into cupcake liners, filling each about two-thirds full. Bake for 18-20 minutes or until a toothpick comes out clean.
- While the cupcakes cool, prepare the frosting by whipping heavy cream until soft peaks form. Gradually add powdered sugar and lime juice, mixing until smooth.
- Frost the cooled cupcakes and garnish with additional lime zest if desired. Enjoy your Coconut Lime Cupcakes!
Lemon Blueberry Layer Cake
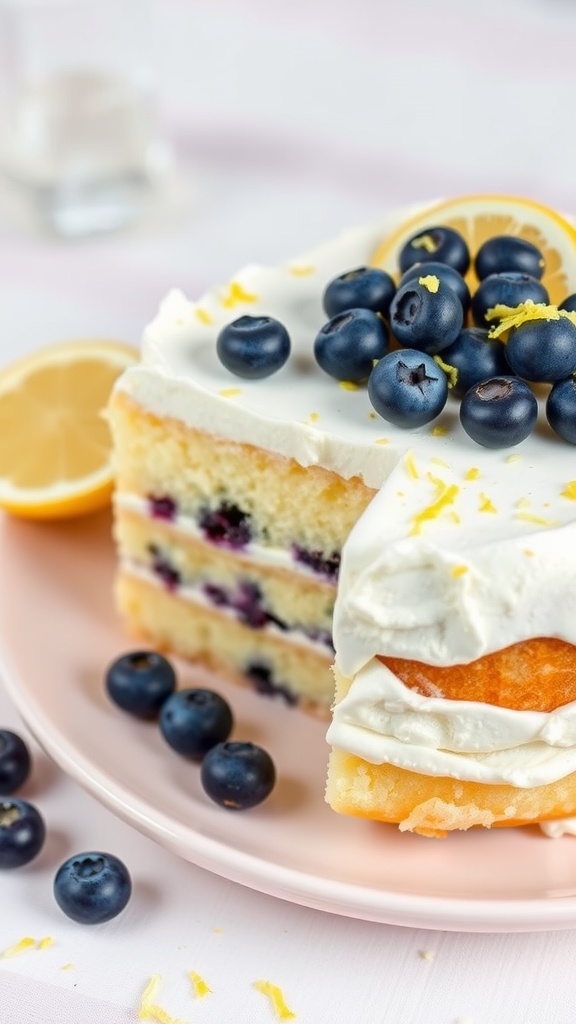
This Lemon Blueberry Layer Cake is a delightful spring treat that brings vibrant flavors together for a refreshing dessert. The combination of zesty lemon and sweet blueberries creates a light and airy cake, perfect for any gathering or celebration.
Making this cake is straightforward, even for beginner bakers! With a simple method for layering and frosting, you’ll be surprised at how easily you can whip up this seasonal delight.
Ingredients
- 2 cups all-purpose flour
- 1 1/2 cups granulated sugar
- 1 tablespoon baking powder
- 1/2 teaspoon salt
- 1 cup unsalted butter, softened
- 4 large eggs
- 1 tablespoon lemon zest
- 1 tablespoon lemon juice
- 1/2 cup whole milk
- 1 cup fresh blueberries
- 2 cups heavy cream
- 1/4 cup powdered sugar
- 1 teaspoon vanilla extract
Instructions
- Preheat the Oven: Preheat your oven to 350°F (175°C) and grease three 8-inch round cake pans.
- Mix Dry Ingredients: In a bowl, whisk together flour, baking powder, and salt; set aside.
- Cream Butter and Sugar: In a large mixing bowl, cream the butter and granulated sugar until light and fluffy.
- Add Eggs and Flavor: Beat in the eggs one at a time, then mix in the lemon zest and lemon juice.
- Combine Mixtures: Gradually add the dry ingredients to the wet mixture, alternating with the milk, until well combined.
- Fold in Blueberries: Gently fold in the fresh blueberries.
- Bake: Divide the batter evenly among the prepared pans and bake for 25-30 minutes or until a toothpick comes out clean.
- Cool: Allow the cakes to cool in the pans for 10 minutes before transferring them to a wire rack to cool completely.
- Make Whipped Cream: In a separate bowl, beat the heavy cream, powdered sugar, and vanilla until stiff peaks form.
- Assemble the Cake: Once the cakes are cool, layer them with whipped cream between each layer and cover the top and sides with more whipped cream. Decorate with extra blueberries and lemon zest if desired.
Peach Melba Cake
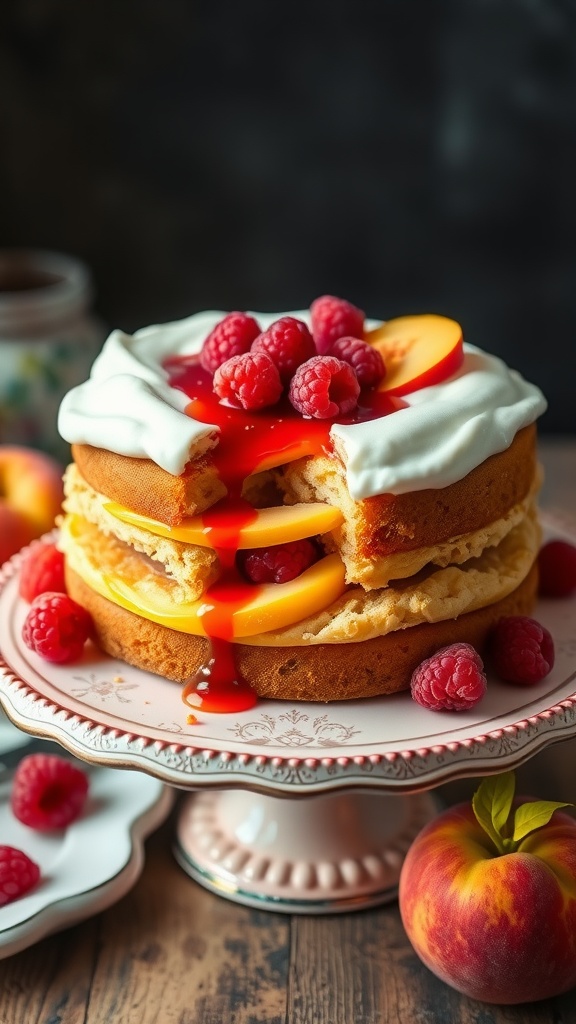
Peach Melba Cake is a delightful treat that celebrates the flavors of spring with its light and fruity notes. This layered cake features fluffy sponge layers, juicy peaches, and tart raspberries, all complemented by a creamy frosting. It’s not only visually appealing but also a refreshing dessert that’s perfect for any occasion.
The recipe is straightforward, making it accessible for all bakers, whether you’re a novice or a pro. With seasonal ingredients like fresh peaches and raspberries, this cake is sure to impress your family and friends without requiring extensive baking skills.
Ingredients
- 1 ½ cups all-purpose flour
- 1 cup granulated sugar
- ½ cup unsalted butter, softened
- 2 large eggs
- 1 teaspoon vanilla extract
- 1 ½ teaspoons baking powder
- ½ teaspoon salt
- ½ cup milk
- 2 cups fresh peaches, sliced
- 1 cup raspberries
- 1 cup heavy cream
- 2 tablespoons powdered sugar
- ½ cup peach syrup (optional)
Instructions
- Preheat the oven to 350°F (175°C). Grease and flour two 8-inch round cake pans.
- In a mixing bowl, cream together the softened butter and granulated sugar until light and fluffy. Add in the eggs, one at a time, mixing well after each addition. Stir in vanilla extract.
- In another bowl, whisk together flour, baking powder, and salt. Gradually add to the creamed mixture, alternating with milk, until well combined.
- Divide the batter evenly between the prepared pans. Bake for 25-30 minutes or until a toothpick inserted in the center comes out clean. Let cool in the pans for 10 minutes before transferring to wire racks to cool completely.
- Once the cakes are cool, whip the heavy cream with powdered sugar until soft peaks form. Place one cake layer on a serving plate, spread some whipped cream on top, and layer with sliced peaches and a few raspberries. Drizzle with peach syrup if desired.
- Carefully place the second cake layer on top. Frost the top and sides with the remaining whipped cream, and finish with more peaches and raspberries for decoration.
- Slice and serve your Peach Melba Cake, enjoying the delightful combination of flavors!
Strawberry Shortcake with Whipped Cream
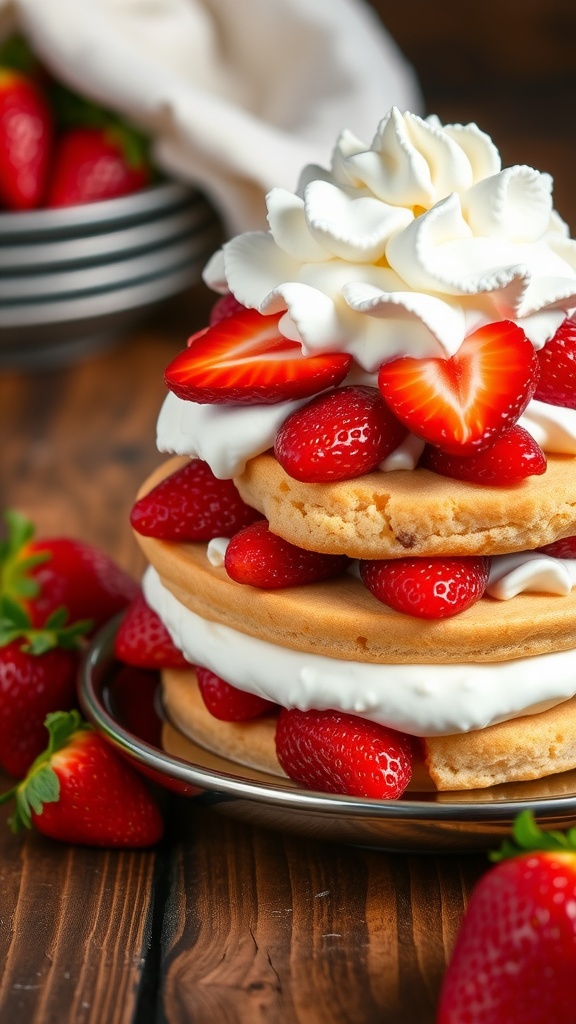
Strawberry shortcake is a delightful dessert that perfectly captures the essence of spring. With layers of fluffy cake, sweet strawberries, and rich whipped cream, it’s a treat that’s both light and satisfying. This recipe is simple to make, making it a great choice for both novice bakers and seasoned pros.
The combination of juicy strawberries and airy whipped cream creates a refreshing taste that’s ideal for warm weather. Plus, it’s a great way to celebrate seasonal fruit! Gather your ingredients and enjoy making this classic dessert that’s sure to impress your friends and family.
Ingredients
- 2 cups all-purpose flour
- 1/4 cup granulated sugar
- 1 tablespoon baking powder
- 1/2 teaspoon salt
- 1/2 cup unsalted butter, softened
- 1 cup milk
- 1 teaspoon vanilla extract
- 2 cups fresh strawberries, sliced
- 1 cup heavy cream
- 2 tablespoons powdered sugar
Instructions
- Preheat the oven to 350°F (175°C). Grease and flour two round cake pans.
- In a large bowl, whisk together flour, sugar, baking powder, and salt. Add the softened butter and mix until crumbly.
- Pour in the milk and vanilla extract, stirring until just combined.
- Divide the batter between the prepared pans and smooth the tops. Bake for 25-30 minutes or until a toothpick comes out clean.
- While the cakes cool, prepare the whipped cream. In a mixing bowl, beat the heavy cream and powdered sugar until soft peaks form.
- Once the cakes are completely cool, slice each cake in half horizontally to create layers.
- Layer the cakes with strawberries and whipped cream, stacking them as desired. Serve immediately or refrigerate until ready to enjoy.
Carrot Cake with Cream Cheese Frosting
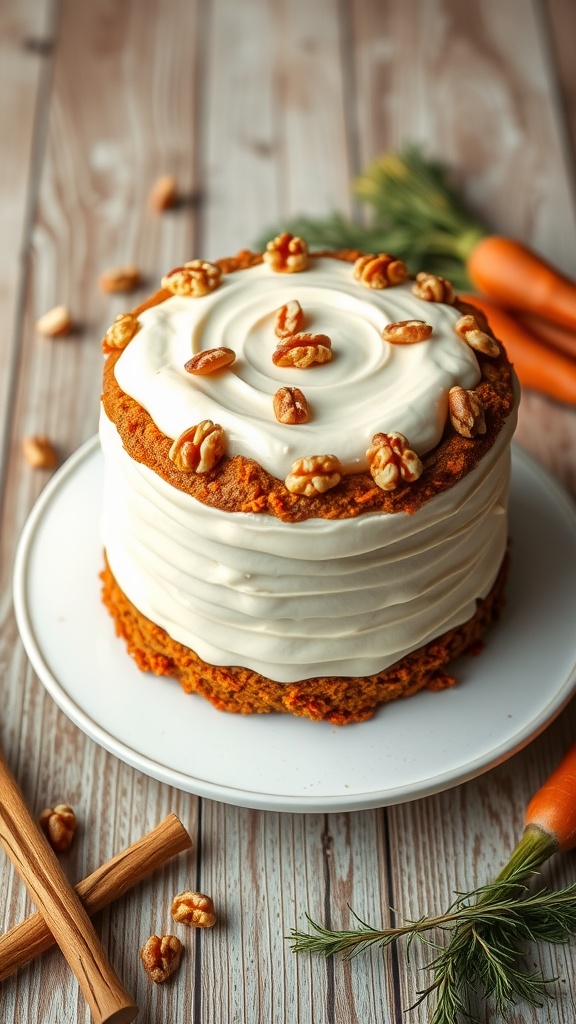
Carrot cake is a delightful treat that perfectly captures the essence of spring. With its moist texture and warm spices, it’s a cake that offers a comforting sweetness without being overly rich. The addition of carrots not only gives it a unique flavor but also adds a touch of wholesome goodness. Plus, with a luscious cream cheese frosting on top, each slice is a delightful balance of sweet and tangy.
This recipe is simple to follow, making it an ideal choice for both novice bakers and seasoned pros. Whether you’re celebrating a special occasion or just indulging in a weekend bake, this carrot cake is bound to impress. Let’s dive right into the recipe!
Ingredients
- 1 ½ cups all-purpose flour
- 1 teaspoon baking powder
- 1 teaspoon baking soda
- ½ teaspoon salt
- 1 teaspoon ground cinnamon
- ½ teaspoon ground nutmeg
- ½ cup vegetable oil
- 1 cup granulated sugar
- 1 cup packed brown sugar
- 4 large eggs
- 2 cups grated carrots
- 1 cup crushed pineapple, drained
- 1 cup chopped walnuts (optional)
- 8 oz cream cheese, softened
- ½ cup unsalted butter, softened
- 4 cups powdered sugar
- 1 teaspoon vanilla extract
Instructions
- Preheat the oven to 350°F (175°C) and grease two 9-inch round cake pans.
- In a large bowl, whisk together flour, baking powder, baking soda, salt, cinnamon, and nutmeg.
- In another bowl, mix together oil, granulated sugar, brown sugar, and eggs until well combined. Gradually add the flour mixture, mixing until just combined.
- Fold in grated carrots, crushed pineapple, and walnuts if using.
- Divide the batter evenly between the prepared pans and bake for 25-30 minutes, or until a toothpick inserted in the center comes out clean.
- Allow the cakes to cool in the pans for 10 minutes, then transfer to wire racks to cool completely.
- For the frosting, beat together cream cheese and butter until smooth. Gradually add powdered sugar and vanilla extract, mixing until fluffy.
- Once the cakes are completely cool, spread cream cheese frosting between the layers and on top and sides of the cake. Decorate with additional walnuts if desired. Slice and enjoy!
Raspberry Almond Tart
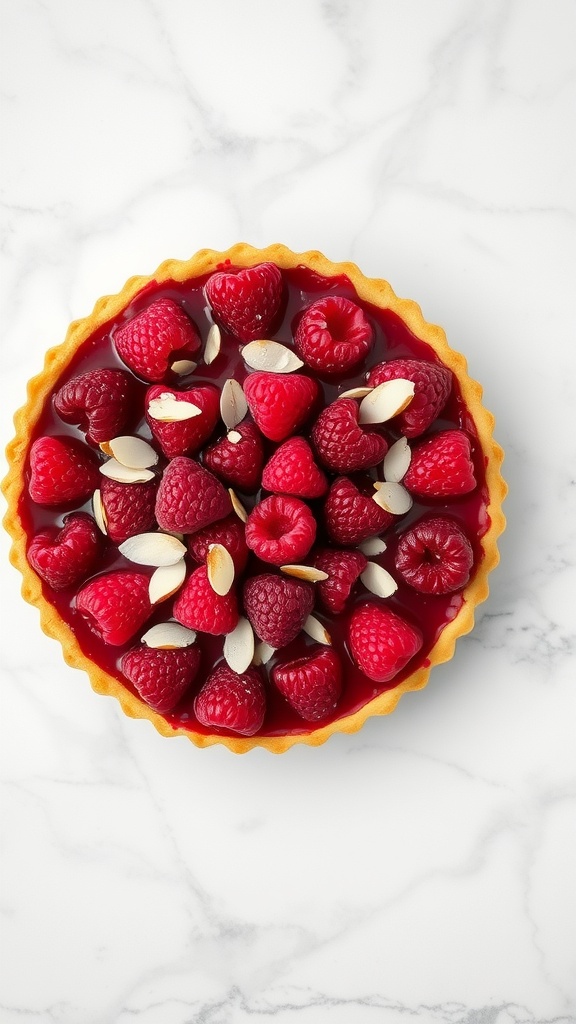
The Raspberry Almond Tart is a delightful spring dessert that perfectly combines the tartness of fresh raspberries with the rich, nutty flavor of almond. This tart is not only delicious but also visually appealing, making it a wonderful centerpiece for any spring gathering. Plus, it’s simple enough for bakers of all skill levels to whip up!
The buttery crust complements the sweet and slightly tangy raspberry filling, while the almond slices on top add an extra crunch. This combination of flavors is refreshing and satisfying, embodying the essence of spring. Whether you’re hosting a brunch or just craving something sweet, this tart is sure to please.
Ingredients
- 1 ½ cups all-purpose flour
- ½ cup powdered sugar
- ¼ teaspoon salt
- ½ cup unsalted butter, chilled and cubed
- 1 large egg yolk
- 2 tablespoons cold water
- 2 cups fresh raspberries
- ¾ cup granulated sugar
- 2 tablespoons cornstarch
- 1 teaspoon almond extract
- ¼ cup sliced almonds
Instructions
- Make the Crust: In a food processor, combine flour, powdered sugar, and salt. Add the cubed butter and pulse until the mixture resembles coarse crumbs. Add the egg yolk and cold water, and pulse until the dough comes together. Press the dough into a tart pan and refrigerate for 30 minutes.
- Preheat the Oven: Preheat your oven to 350°F (175°C).
- Bake the Crust: Remove the tart from the fridge and prick the bottom with a fork. Bake for 15-20 minutes until lightly golden. Let it cool.
- Prepare the Filling: In a medium saucepan, combine raspberries, granulated sugar, cornstarch, and almond extract. Cook over medium heat until the raspberries break down and the mixture thickens, about 5-7 minutes.
- Assemble the Tart: Pour the raspberry filling into the cooled crust. Top with sliced almonds. Bake for an additional 10 minutes.
- Cool and Serve: Allow the tart to cool completely before slicing. Serve chilled or at room temperature.
Grapefruit and Thyme Cake
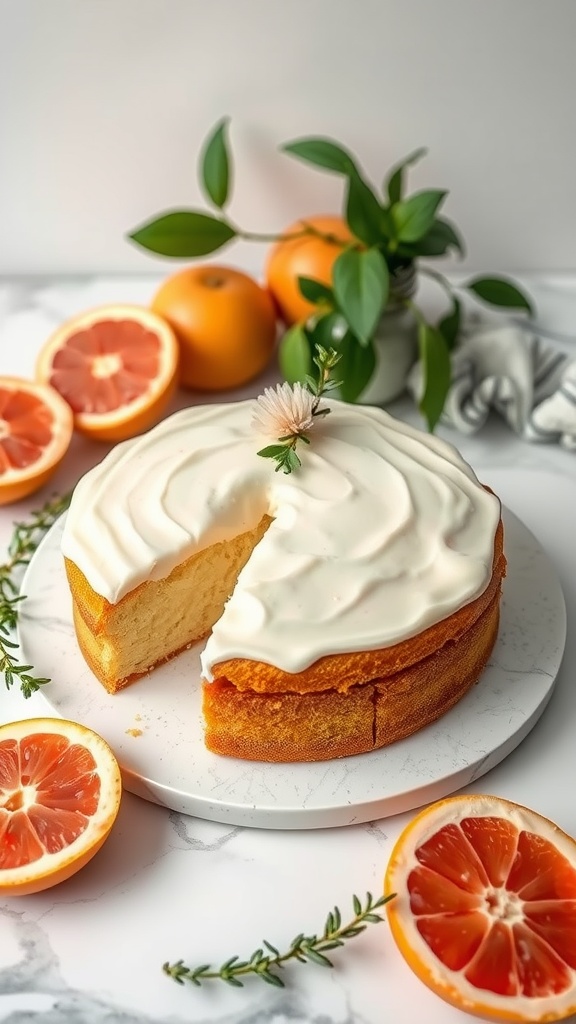
This grapefruit and thyme cake brings a delightful twist to traditional spring desserts. The zesty grapefruit pairs beautifully with the subtle earthiness of thyme, creating a unique flavor profile that’s refreshing and light. Perfect for spring gatherings, this cake is not overly complicated to make, making it suitable even for novice bakers.
The combination of citrus and herb adds a touch of sophistication, while the moist cake base ensures it’s a hit at any brunch or celebration. With a simple glaze on top, it’s both visually appealing and delicious!
Ingredients
- 1 ½ cups all-purpose flour
- 1 cup granulated sugar
- 2 teaspoons baking powder
- ½ teaspoon salt
- ½ cup unsalted butter, softened
- 2 large eggs
- ¾ cup fresh grapefruit juice
- 1 tablespoon grapefruit zest
- 1 tablespoon fresh thyme leaves
- 1 teaspoon vanilla extract
Instructions
- Preheat the oven to 350°F (175°C) and grease a 9-inch round cake pan.
- In a bowl, whisk together the flour, baking powder, and salt. Set aside.
- In another bowl, cream together the softened butter and sugar until light and fluffy. Add the eggs one at a time, mixing well after each addition.
- Stir in the grapefruit juice, zest, thyme, and vanilla until combined.
- Gradually add the dry ingredients to the wet mixture, stirring until just combined.
- Pour the batter into the prepared cake pan and smooth the top. Bake for 30-35 minutes, or until a toothpick inserted in the center comes out clean.
- Allow the cake to cool in the pan for 10 minutes before transferring it to a wire rack to cool completely.
Mango Mousse Cake

If you’re looking for a light and refreshing dessert to welcome spring, a Mango Mousse Cake is a delightful choice. This cake is characterized by its smooth, creamy mango filling that melts in your mouth, balanced perfectly with a crumbly crust. The tropical flavor of mango brings a taste of sunshine to any occasion, making it a favorite for gatherings or just a sweet treat at home.
The best part? This cake is relatively simple to prepare, requiring minimal baking skills. With a few ingredients and some patience, you’ll be rewarded with a stunning presentation that impresses everyone. Perfect for celebrating the season, this mango mousse cake is both satisfying and visually appealing.
Ingredients
- 1 cup graham cracker crumbs
- 1/4 cup unsalted butter, melted
- 2 cups ripe mango puree (about 3 ripe mangoes)
- 1 cup heavy whipping cream
- 1/2 cup sugar
- 1 tablespoon gelatin powder
- 1/4 cup water
- 1 teaspoon vanilla extract
- Fresh mango slices, for garnish
- Mint leaves, for garnish
Instructions
- Prepare the Crust: In a mixing bowl, combine graham cracker crumbs and melted butter. Press the mixture firmly into the bottom of a springform pan to create an even crust. Set aside.
- Make the Mango Puree: In a blender, blend the ripe mangoes until smooth to create a puree. Measure out 2 cups and set aside.
- Prepare the Gelatin: In a small bowl, sprinkle the gelatin over the water and let it soften for about 5 minutes. Then, heat gently until dissolved.
- Mix the Mousse: In a large bowl, whip the heavy cream and sugar until soft peaks form. Gently fold in the mango puree and dissolved gelatin, followed by the vanilla extract, until fully combined.
- Assemble the Cake: Pour the mousse mixture over the prepared crust in the springform pan. Smooth the top and refrigerate for at least 4 hours or until set.
- Serve: Once set, carefully release the springform pan and garnish with fresh mango slices and mint leaves before slicing.
Chocolate Strawberry Torte

Chocolate Strawberry Torte is a delightful dessert that combines rich chocolate cake layers with fresh strawberries and creamy filling. The contrast of flavors is simply delightful, as the sweetness of the strawberries balances the deep, dark chocolate. Plus, it’s quite straightforward to put together, making it a fantastic choice for both baking novices and seasoned enthusiasts.
This torte is perfect for spring gatherings and celebrations, offering a refreshing take on traditional chocolate desserts. The combination of textures—soft cake, luscious frosting, and juicy berries—will surely please your taste buds. So, let’s dive into the recipe!
Ingredients
- 1 ½ cups all-purpose flour
- 1 cup granulated sugar
- ½ cup unsweetened cocoa powder
- 1 teaspoon baking soda
- ½ teaspoon salt
- 1 cup buttermilk
- ½ cup vegetable oil
- 2 large eggs
- 1 teaspoon vanilla extract
- 1 cup boiling water
- 1 cup heavy cream
- 2 tablespoons powdered sugar
- 1 cup fresh strawberries, hulled and sliced
- ½ cup chocolate ganache (store-bought or homemade)
Instructions
- Prepare the Cake: Preheat your oven to 350°F (175°C) and grease two 9-inch round cake pans. In a large mixing bowl, combine flour, sugar, cocoa powder, baking soda, and salt. Add buttermilk, vegetable oil, eggs, and vanilla. Mix until smooth, then carefully stir in boiling water.
- Bake the Layers: Divide the batter evenly between the prepared pans. Bake for 30-35 minutes, or until a toothpick inserted comes out clean. Allow the cakes to cool in the pans for 10 minutes, then transfer to a wire rack to cool completely.
- Make the Whipped Cream: In a mixing bowl, whip the heavy cream with powdered sugar until soft peaks form. Set aside.
- Assemble the Torte: Once the cake layers are cool, place one layer on a serving plate. Spread a layer of whipped cream over the top and add half of the sliced strawberries. Place the second cake layer on top.
- Finish with Ganache: Pour the chocolate ganache over the top layer, allowing it to drip down the sides. Decorate with the remaining strawberries on top. Slice and serve!
Orange Olive Oil Cake
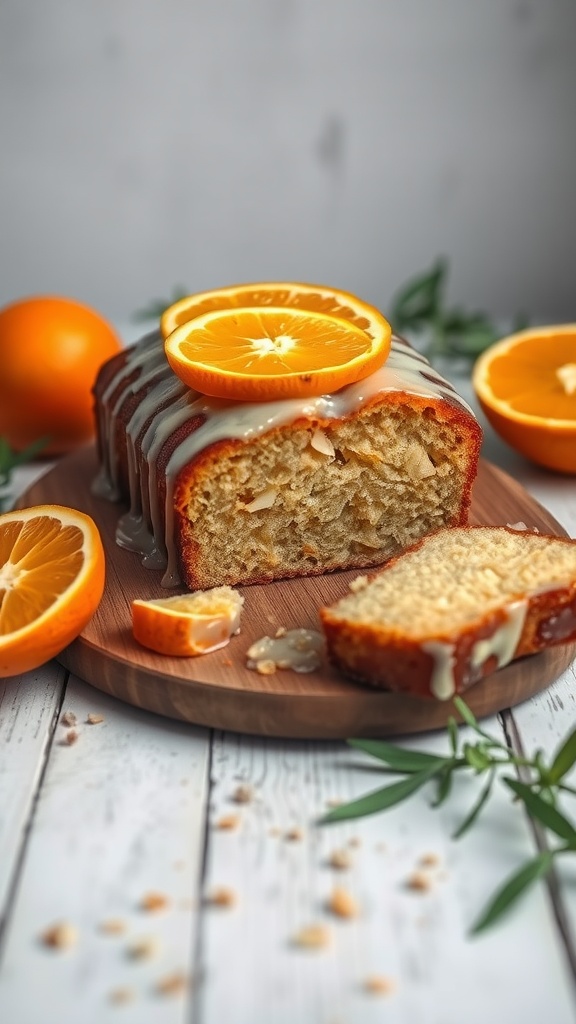
If you’re looking for a cake that captures the essence of spring, this Orange Olive Oil Cake is a delightful choice. With its zesty orange flavor and moist texture, this cake is light and refreshing, making it perfect for any gathering. Plus, the use of olive oil adds a subtle richness that complements the citrus beautifully.
This recipe is simple to follow, making it ideal for both novice bakers and seasoned pros. You’ll find that the combination of fresh orange juice and zest brings a burst of brightness, while the olive oil ensures a tender crumb. Serve it at brunch, with tea, or even as a light dessert—it’s sure to impress!
Ingredients
- 1 ½ cups all-purpose flour
- 1 cup granulated sugar
- ½ cup extra-virgin olive oil
- 2 large eggs
- 1 teaspoon vanilla extract
- 1 teaspoon baking powder
- ½ teaspoon baking soda
- ½ teaspoon salt
- 1 cup freshly squeezed orange juice
- Zest of 1 orange
Instructions
- Preheat your oven to 350°F (175°C). Grease a 9-inch loaf pan and set aside.
- In a mixing bowl, combine the flour, baking powder, baking soda, and salt. Whisk together until well mixed.
- In another bowl, whisk the eggs and sugar until light and fluffy. Add the olive oil, vanilla extract, orange juice, and orange zest, mixing until combined.
- Gradually add the dry ingredients to the wet mixture, stirring gently until just combined.
- Pour the batter into the prepared loaf pan and bake for 40-45 minutes, or until a toothpick inserted in the center comes out clean.
- Let the cake cool in the pan for 10 minutes before transferring it to a wire rack to cool completely.
Cherry Almond Coffee Cake
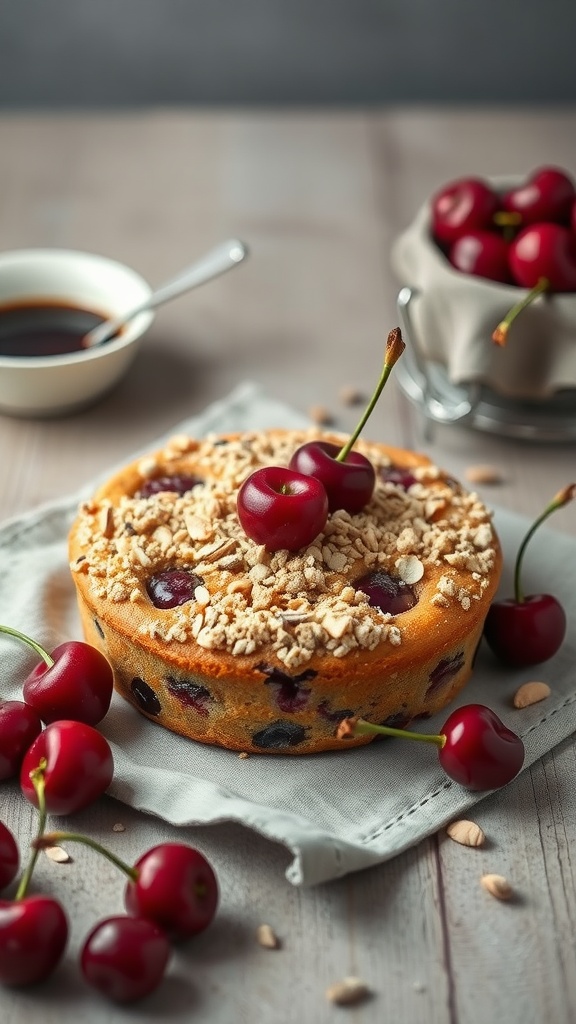
Cherry Almond Coffee Cake is a delightful treat that combines the sweet tang of cherries with the warm, nutty flavor of almond. This cake is perfect for brunch or as a cozy afternoon snack with a cup of coffee. It’s wonderfully easy to make, even for those who might not have extensive baking experience.
The texture is moist and tender, thanks to the fresh cherries, while the almond essence adds a lovely depth. Topped with a crumbly almond streusel, this cake is sure to brighten up any spring gathering!
Ingredients
- 1 ½ cups all-purpose flour
- 1 cup granulated sugar
- 1 teaspoon baking powder
- ½ teaspoon baking soda
- ¼ teaspoon salt
- ½ cup unsalted butter, softened
- 2 large eggs
- 1 teaspoon almond extract
- ½ cup sour cream
- 1 cup fresh cherries, pitted and halved
- ½ cup sliced almonds
- ½ cup brown sugar
- 1 teaspoon ground cinnamon
Instructions
- Preheat the oven to 350°F (175°C) and grease a 9-inch round cake pan.
- In a mixing bowl, combine flour, sugar, baking powder, baking soda, and salt.
- Add softened butter, eggs, almond extract, and sour cream. Mix until smooth and well combined.
- Gently fold in the cherries.
- Pour the batter into the prepared cake pan and spread evenly.
- In a small bowl, mix sliced almonds, brown sugar, and cinnamon. Sprinkle this mixture over the batter.
- Bake for 30-35 minutes or until a toothpick inserted into the center comes out clean.
- Let the cake cool in the pan for 10 minutes before transferring it to a wire rack to cool completely.
Mint Lime Cheesecake
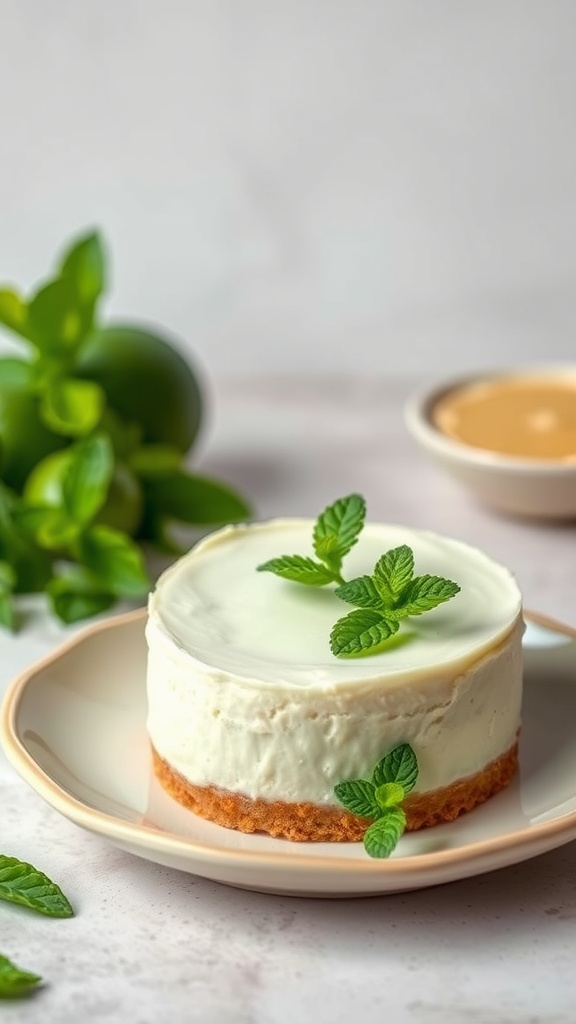
Mint Lime Cheesecake is a refreshing dessert that captures the essence of spring. It combines the zesty flavors of lime with the coolness of mint, creating a delightful treat that’s both creamy and refreshing. This cheesecake is easy to make, making it perfect for gatherings or a cozy night in.
With its bright taste and smooth texture, this cheesecake is sure to become a favorite. The mint adds a unique twist that enhances the lime’s tartness, delivering a burst of flavor in every bite. Plus, you can whip it up without too much fuss, making it a go-to recipe for any occasion.
Ingredients
- 1 1/2 cups graham cracker crumbs
- 1/4 cup unsalted butter, melted
- 2 cups cream cheese, softened
- 1 cup granulated sugar
- 1 tablespoon lime zest
- 1/4 cup fresh lime juice
- 1 teaspoon vanilla extract
- 1 cup heavy whipping cream
- 1/4 cup fresh mint leaves, finely chopped
- Mint sprigs for garnish
Instructions
- Prepare the Crust: In a bowl, mix graham cracker crumbs with melted butter until well combined. Press the mixture firmly into the bottom of a springform pan to form the crust. Chill in the refrigerator while preparing the filling.
- Make the Filling: In a large bowl, beat the softened cream cheese until smooth. Gradually add sugar, lime zest, lime juice, and vanilla extract, mixing until well blended.
- Whip the Cream: In a separate bowl, whip the heavy cream until soft peaks form. Gently fold the whipped cream into the cream cheese mixture along with the chopped mint leaves until fully incorporated.
- Assemble: Pour the cheesecake filling over the chilled crust and smooth the top with a spatula. Cover and refrigerate for at least 4 hours, or overnight for the best texture.
- Serve: Once set, remove the cheesecake from the springform pan. Garnish with mint sprigs before slicing and serving.
Chocolate Mint Bundt Cake
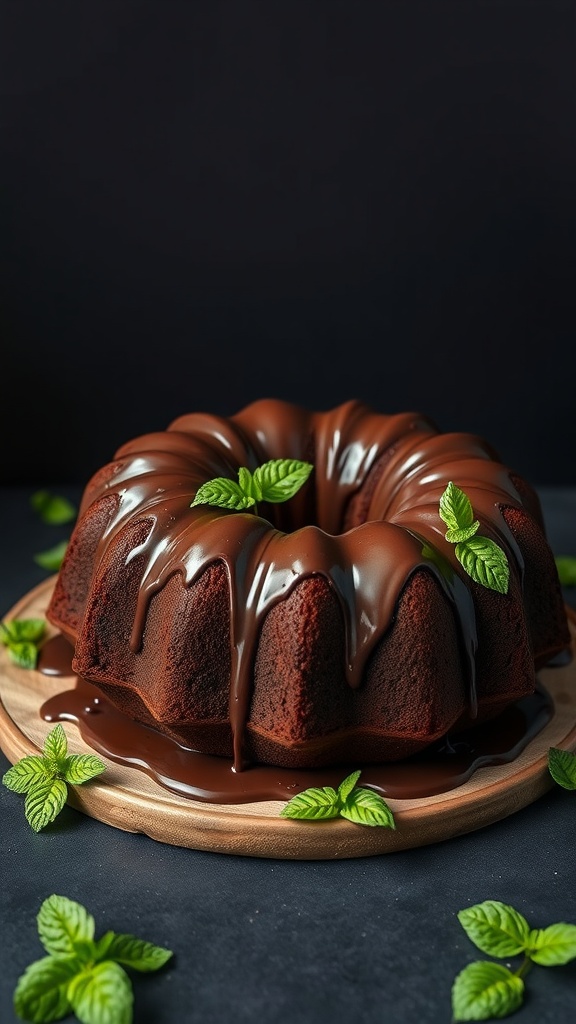
Chocolate Mint Bundt Cake is a delightful treat that perfectly captures the essence of spring with its rich chocolate flavor and refreshing mint undertones. This cake is not just tasty but also visually appealing, making it a great centerpiece for any gathering. The combination of moist chocolate cake and a subtle hint of mint creates a dessert that feels indulgent yet balanced.
The recipe is straightforward, making it easy for bakers of all levels to whip up. With just a few simple steps, you’ll have a stunning bundt cake that will impress friends and family alike.
Ingredients
- 2 cups all-purpose flour
- 1 3/4 cups granulated sugar
- 3/4 cup unsweetened cocoa powder
- 1 1/2 teaspoons baking powder
- 1 1/2 teaspoons baking soda
- 1 teaspoon salt
- 2 large eggs
- 1 cup buttermilk
- 1/2 cup vegetable oil
- 2 teaspoons peppermint extract
- 1 cup boiling water
- 1 cup semi-sweet chocolate chips
- For the chocolate mint glaze:
- 1 cup powdered sugar
- 1/4 cup cocoa powder
- 3 tablespoons milk
- 1 teaspoon peppermint extract
Instructions
- Preheat the oven to 350°F (175°C). Grease and flour a bundt pan.
- In a large bowl, mix flour, sugar, cocoa powder, baking powder, baking soda, and salt.
- Add eggs, buttermilk, vegetable oil, and peppermint extract to the dry ingredients. Beat on medium speed for 2 minutes.
- Stir in boiling water carefully until well combined. Fold in the chocolate chips.
- Pour the batter into the prepared bundt pan and bake for 30-35 minutes or until a toothpick comes out clean.
- Let the cake cool in the pan for 10 minutes before transferring it to a wire rack.
- For the glaze, mix powdered sugar, cocoa powder, milk, and peppermint extract until smooth. Drizzle over the cooled cake.
Key Lime Pie Cake
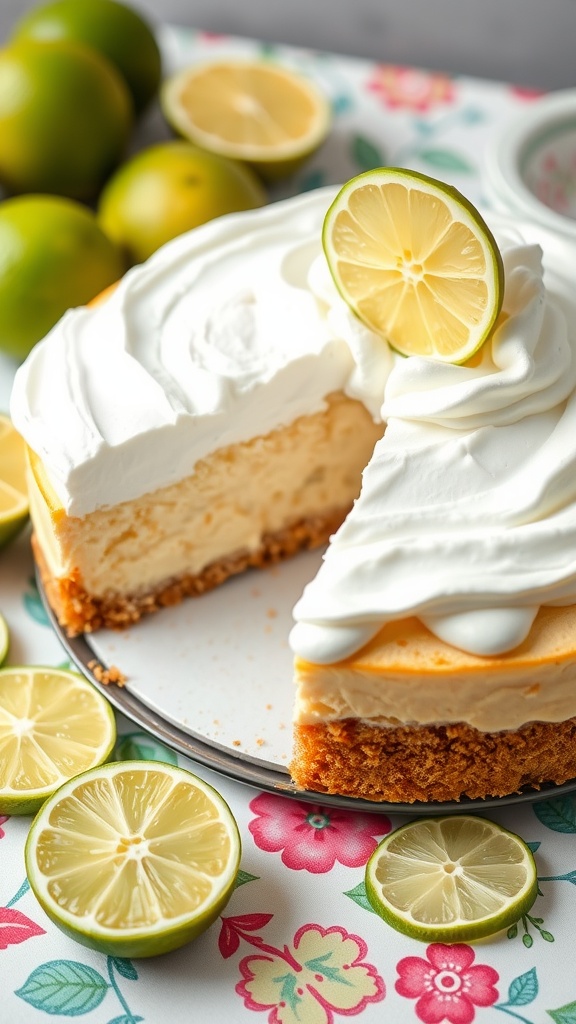
Key Lime Pie Cake is a delightful twist on the classic dessert, combining the zesty flavor of key limes with a moist cake texture. The bright citrus notes paired with a creamy topping make each bite refreshing and perfect for spring gatherings.
This recipe is easy to follow, making it a great option for bakers of all levels. With its simple ingredients and straightforward steps, you’ll have a delicious cake ready to impress your friends and family.
Ingredients
- 1 ½ cups all-purpose flour
- 1 cup granulated sugar
- 1 teaspoon baking powder
- ½ teaspoon baking soda
- ½ teaspoon salt
- ½ cup unsalted butter, softened
- ½ cup buttermilk
- 3 large eggs
- ½ cup key lime juice
- 1 tablespoon lime zest
- 1 teaspoon vanilla extract
- 1 cup heavy cream
- 2 tablespoons powdered sugar
- Extra lime slices for garnish
Instructions
- Preheat your oven to 350°F (175°C) and grease a 9-inch round cake pan.
- In a large bowl, whisk together flour, sugar, baking powder, baking soda, and salt.
- Add softened butter, buttermilk, eggs, key lime juice, zest, and vanilla. Beat with an electric mixer on medium speed until smooth.
- Pour the batter into the prepared cake pan and smooth the top. Bake for 25-30 minutes or until a toothpick inserted in the center comes out clean.
- Let the cake cool in the pan for 10 minutes, then transfer it to a wire rack to cool completely.
- For the topping, whip heavy cream and powdered sugar until stiff peaks form. Spread over the cooled cake and garnish with lime slices.
Sugar Snap Pea and Lemon Loaf
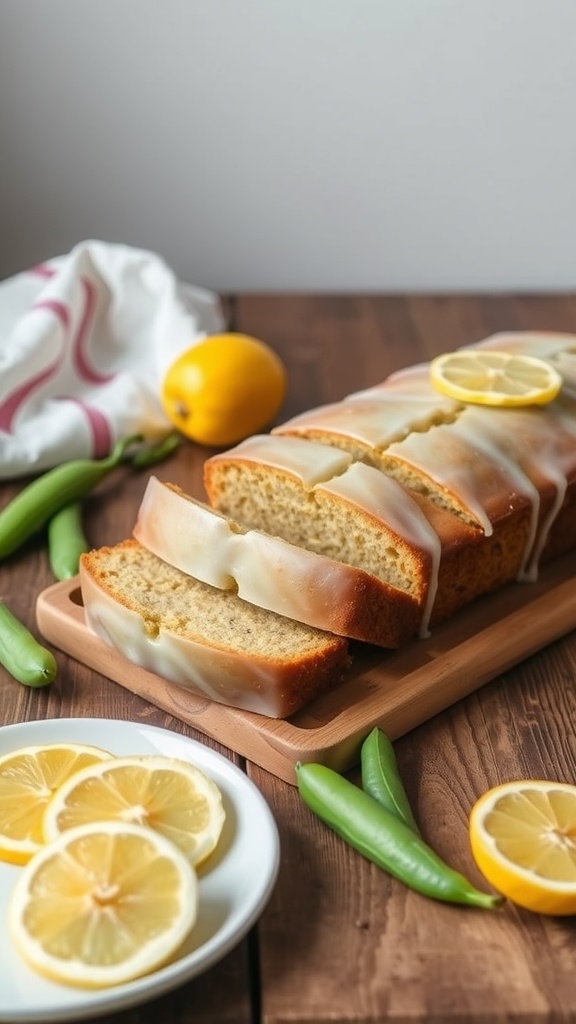
This Sugar Snap Pea and Lemon Loaf is a delightful combination of fresh spring flavors. The sweetness of the sugar snap peas pairs perfectly with the bright, zesty notes of lemon, creating a loaf that is both refreshing and satisfying. Plus, it’s quite simple to make, making it a perfect treat for any gathering or just a cozy afternoon at home.
The texture is moist and tender, while the glaze adds a lovely shine and extra citrusy flavor. Enjoy it for breakfast, as a snack, or as a light dessert. It captures the essence of spring in every bite!
Ingredients
- 1 cup sugar snap peas, finely chopped
- 1/2 cup unsalted butter, softened
- 1 cup granulated sugar
- 2 large eggs
- 1 teaspoon vanilla extract
- 1 1/2 cups all-purpose flour
- 1 teaspoon baking powder
- 1/2 teaspoon baking soda
- 1/4 teaspoon salt
- 1/2 cup buttermilk
- Zest of 1 lemon
- 1/4 cup fresh lemon juice
- 1 cup powdered sugar (for glaze)
- 2 tablespoons fresh lemon juice (for glaze)
Instructions
- Preheat the oven to 350°F (175°C) and grease a loaf pan.
- In a mixing bowl, cream together the softened butter and granulated sugar until light and fluffy.
- Add the eggs, one at a time, mixing well after each addition, then stir in the vanilla.
- In a separate bowl, whisk together the flour, baking powder, baking soda, and salt.
- Gradually add the dry ingredients to the wet mixture, alternating with the buttermilk, beginning and ending with the flour mixture. Mix until just combined.
- Fold in the chopped sugar snap peas, lemon zest, and lemon juice until evenly distributed.
- Pour the batter into the prepared loaf pan and smooth the top. Bake for 50-60 minutes, or until a toothpick inserted in the center comes out clean.
- Let the loaf cool in the pan for 10 minutes before transferring to a wire rack to cool completely.
- For the glaze, mix the powdered sugar and lemon juice in a small bowl until smooth. Drizzle over the cooled loaf before slicing and serving.
Final Thoughts
Spring is the perfect time to refresh your dessert game with flavors that are light, bright, and full of life. These 17 spring cake ideas are more than just recipes—they’re invitations to celebrate the season in the sweetest way possible. Whether you lean toward zesty citrus, juicy berries, or soft floral notes, there’s a cake here waiting to become your new seasonal favorite.
Don’t be afraid to experiment, decorate with edible flowers, or swap in your favorite fruits to make each cake your own. With so many options to choose from, you’re sure to find the perfect recipe for every springtime occasion—or even just a sunny afternoon treat.
Here’s to celebrating spring with every slice—happy baking!