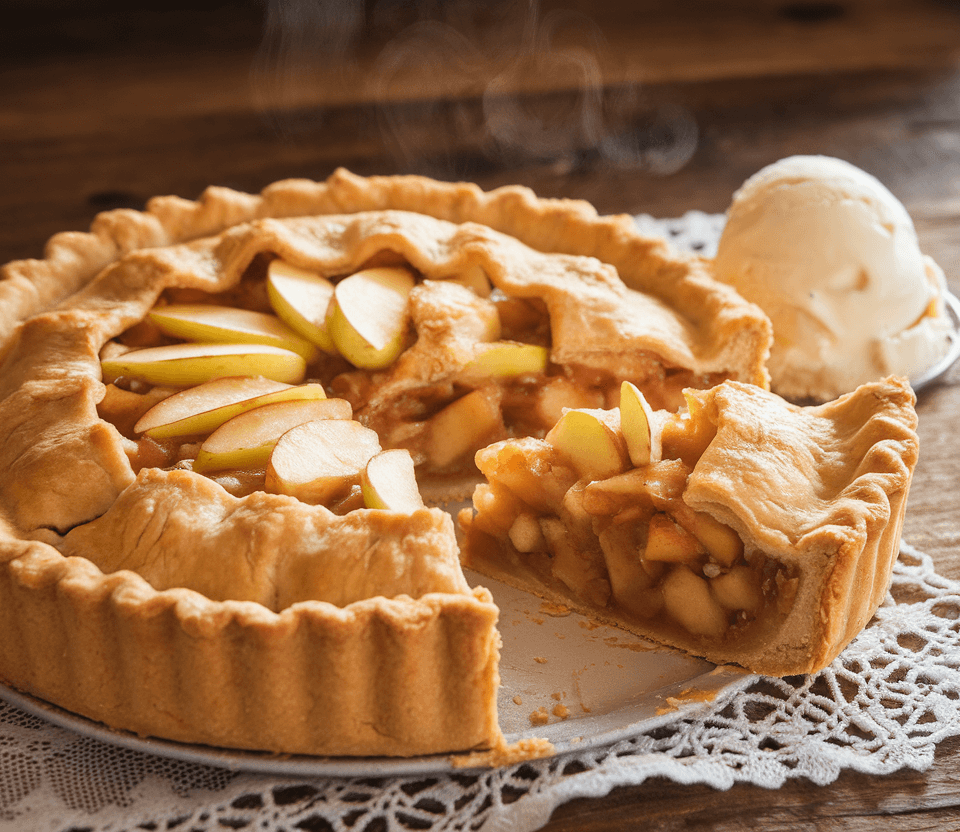
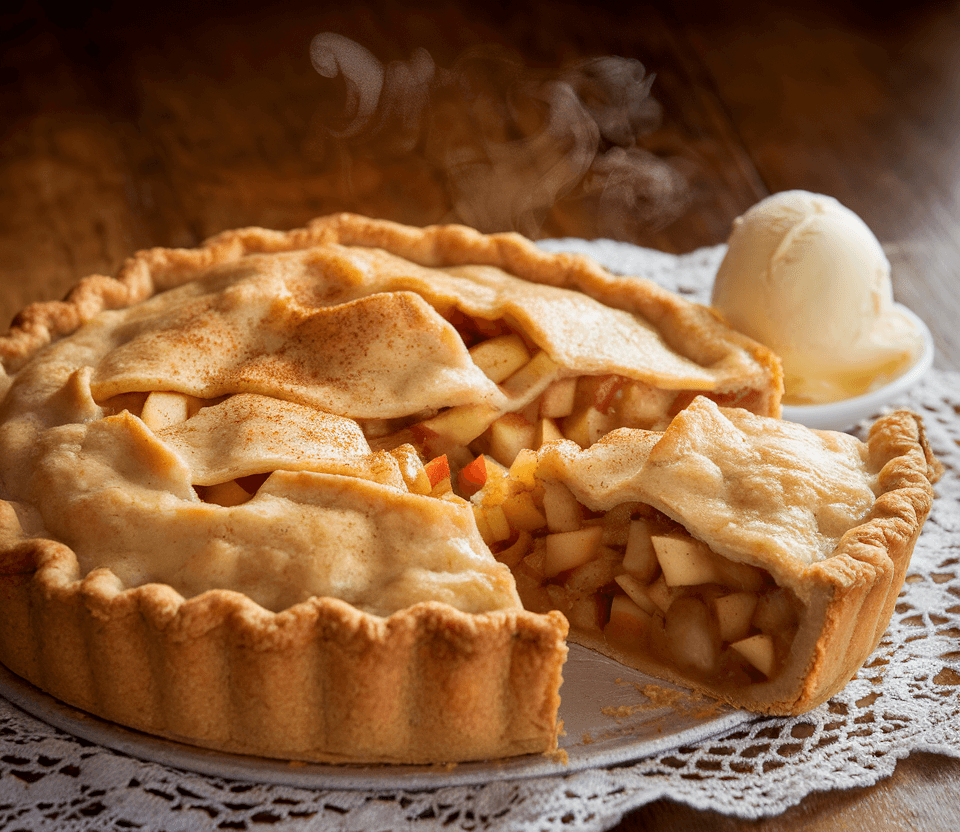
Apple pie is the quintessential American dessert, beloved for its warm, comforting flavors and flaky, buttery crust. This homemade apple pie recipe combines sweet and tart apples with a hint of cinnamon, enveloped in a perfectly golden crust that is both crisp and tender. The delightful aroma wafting through your kitchen will have everyone eagerly awaiting dessert, making it the perfect treat for family gatherings, holidays, or simply a cozy night in.
Why You Will Love This Recipe
You will love this apple pie recipe because it strikes the perfect balance between sweetness and acidity, thanks to a mix of tart Granny Smith apples and sweet Honeycrisps. It’s simple enough for even novice bakers to tackle, while also allowing for personal touches, making it a versatile choice for any occasion. The use of fresh ingredients and the satisfaction of creating a pie from scratch will delight your senses, and the result is a dessert that’s not only delicious but also fits seamlessly into a wholesome lifestyle.
Tips and Tricks
- Choose the Right Apples: Mixing different varieties of apples enhances flavor and texture. Aim for a combination of sweet and tart apples to create depth.
- Chill Your Dough: Make sure to chill your pie crust after preparing it. This helps the butter solidify, resulting in a flakier crust.
- Spice It Up: Don’t be afraid to experiment with spices! A pinch of nutmeg or allspice can elevate the apple filling.
- Use a Pie Shield: To prevent the crust from burning, use a pie shield or aluminum foil around the edges for the first half of baking.
Common Mistakes to Avoid
- Overworking the Dough: Avoid over-kneading your dough, as it can lead to a tough crust. Mix just until combined.
- Skipping the Pre-Bake: If you don’t pre-bake your crust, it may turn out soggy. Take the time to blind bake the bottom crust.
- Not Using Enough Filling: It’s tempting to skimp on apples, but a full, generous filling is key to a satisfying pie.
- Ignoring the Resting Time: Allowing the pie to cool before slicing helps the filling set, preventing a soupy mess.
Make Ahead Tips
You can prepare the pie crust up to two days in advance; just wrap it tightly in plastic wrap and refrigerate. The apple filling can also be made a day ahead. Store it in the fridge and assemble the pie just before baking. Once baked, apple pie can be stored at room temperature for up to two days.
Recipe Variations
- Caramel Apple Pie: Drizzle caramel sauce into the apple filling for an extra layer of sweetness.
- Nutty Crust: Incorporate finely chopped nuts into the pie crust for added flavor and crunch.
- Gluten-Free Option: Substitute all-purpose flour with a gluten-free blend for a gluten-free crust.
How to Serve
Serve your apple pie warm, preferably with a scoop of vanilla ice cream melting on top or a dollop of freshly whipped cream. For an elegant presentation, dust the pie with powdered sugar and serve alongside a sprinkle of cinnamon.
Pairing Suggestions
For a delightful beverage pairing, consider a glass of sweet Riesling or a warm spiced cider. Coffee lovers might enjoy a freshly brewed cup of coffee or espresso alongside the pie. A scoop of vanilla or caramel ice cream also complements the warm flavors beautifully.
How to Store
Store leftover apple pie in an airtight container at room temperature for up to two days or in the refrigerator for up to a week. To freeze, wrap the pie tightly in plastic wrap and aluminum foil, and it will keep well for up to three months. Reheat in the oven at 350°F until warmed through.
Equipment Needed
- 9-inch pie pan
- Rolling pin
- Mixing bowls
- Pastry cutter or fork
- Sharp knife for slicing apples
Dietary Adaptations
To make this apple pie recipe vegan, substitute butter with coconut oil or vegan butter. Use maple syrup or agave instead of granulated sugar. For a nut-free version, ensure your pie crust is made with nut-free flour and avoid any nut toppings.
Seasonal Adaptations
In the fall, consider adding cranberries or pears to the apple filling for a seasonal twist. During summer, peaches can be a delicious addition that complements the apples nicely, creating a mixed fruit pie.
Cost Breakdown
This apple pie recipe will cost around $10-$15 to make, depending on the quality of ingredients used. Each slice comes to about $1.50, making it an affordable dessert option. To save on costs, buy apples in bulk when they are in season.
Kitchen Hacks
- Quick Apple Peeling: Use an apple peeler for quick and efficient peeling.
- Slice Evenly: Use a mandoline slicer for consistent apple slices, ensuring even cooking.
- Prevent Browning: Toss sliced apples in lemon juice to prevent browning while you prepare the rest of the ingredients.
Recipe FAQs
- Can I use frozen apples?: Yes, frozen apples work, but make sure to thaw and drain excess liquid before using.
- How do I know when the pie is done?: The crust should be golden brown and juices should be bubbling from the filling.
- Can I make this pie ahead of time?: Absolutely! You can prepare the pie and refrigerate it before baking, or bake and store it for later.
How To Make apple pie recipe
Apple Pie

Apple pie is the quintessential American dessert, beloved for its warm, comforting flavors and flaky, buttery crust. This homemade apple pie recipe combines sweet and tart apples with a hint of cinnamon, enveloped in a perfectly golden crust that is both crisp and tender.
Ingredients
- 2 ½ cups all-purpose flour
- 1 tsp salt
- 1 tsp sugar
- 1 cup unsalted butter, chilled and cubed
- 6-8 tbsp ice water
- 6 cups apples, peeled, cored, and sliced (mix of Granny Smith and Honeycrisp)
- ¾ cup sugar
- 2 tbsp all-purpose flour
- 1 tsp ground cinnamon
- ¼ tsp nutmeg
- 1 tbsp lemon juice
- 1 egg, beaten (for egg wash, optional)
Instructions
- Prepare the Pie Crust: In a bowl, mix flour, salt, and sugar. Cut in chilled butter until the mixture resembles coarse crumbs. Stir in ice water, one tablespoon at a time, until dough forms. Divide in half, shape into disks, wrap in plastic, and refrigerate for at least 1 hour.
- Make the Filling: In a large bowl, combine apple slices, sugar, flour, cinnamon, nutmeg, and lemon juice. Toss to coat evenly and set aside.
- Preheat the Oven: Preheat your oven to 425°F (220°C).
- Roll Out the Dough: On a floured surface, roll out one disk of dough to fit your pie pan. Place the bottom crust in the pan and fill with the apple mixture.
- Top the Pie: Roll out the second disk of dough for the top crust. Cut slits for vents or create a lattice top. Place over the filling and crimp the edges to seal.
- Egg Wash: Brush the top crust with beaten egg if desired for a golden finish.
- Bake: Bake in the preheated oven for 15 minutes, then reduce the temperature to 350°F (175°C) and bake for an additional 30-40 minutes, until the apples are tender and the crust is golden brown.
- Cool and Serve: Let the pie cool for at least 2 hours before slicing to allow the filling to set.
Nutrition Information
Yield
8Serving Size
1Amount Per Serving Calories 483Total Fat 24gSaturated Fat 15gTrans Fat 0gUnsaturated Fat 8gCholesterol 84mgSodium 309mgCarbohydrates 63gFiber 3gSugar 29gProtein 6g
TastyFitnessRecipes.com, occasionally offers nutritional information for recipes contained on this site. This information is provided as a courtesy and is an estimate only. This information comes from online calculators. Although tastyfitnessrecipes.com attempts to provide accurate nutritional information, these figures are only estimates.
Final Thoughts
Baking an apple pie from scratch can be a delightful and rewarding experience. With this recipe, you’ll create a classic dessert that evokes memories of family gatherings and warm kitchens. Whether enjoyed alone or shared with loved ones, this apple pie is sure to become a staple in your home. Happy baking!