Indulge your sweet tooth with these delightful Chocolate Cupcake Recipe Without Buttermilk, perfect for any occasion. This Chocolate Cupcake Without Buttermilk yields moist and fluffy cupcakes, rich in chocolate flavor, and topped with a luscious frosting that will make you swoon. Whether you’re celebrating a birthday, an anniversary, or simply treating yourself, these cupcakes are sure to impress with their decadent taste and delightful texture.

Why You Will Love This Recipe
You’ll absolutely love this recipe for several reasons! Firstly, the flavor is simply divine; the deep, rich chocolate taste is balanced by just the right amount of sweetness, making it a true chocolate lover’s dream. Secondly, the ease of preparation is a major win! With straightforward steps and minimal ingredients, these cupcakes can be whipped up in no time, even on a busy day. Lastly, this recipe is versatile enough to fit various dietary lifestyles, making it a great choice for families and gatherings.
Tips and Tricks
To ensure your chocolate cupcakes turn out perfectly, here are some handy tips:
- Room Temperature Ingredients: Make sure your eggs and any other dairy products are at room temperature. This helps in creating a smoother batter and contributes to the fluffiness of the cupcakes.
- Don’t Overmix: When combining your wet and dry ingredients, mix just until they are incorporated. Overmixing can lead to dense cupcakes.
- Use Quality Cocoa Powder: For the best flavor, opt for high-quality cocoa powder. It makes a noticeable difference in taste.
- Cupcake Liners: Use colorful or themed cupcake liners for a fun appearance!
Common Mistakes to Avoid
Avoid these common pitfalls to ensure your cupcakes are a hit:
- Skipping the Sifting: Always sift your dry ingredients to prevent clumping and to ensure even mixing.
- Incorrect Oven Temperature: Make sure your oven is preheated to the correct temperature. An oven thermometer can help with accuracy.
- Filling the Cups Too Full: Fill your cupcake liners only about 2/3 full. Overfilling can cause the cupcakes to overflow and lose their shape.
- Testing for Doneness: Use the toothpick test correctly. Insert a toothpick in the center; it should come out with a few moist crumbs, not wet batter.
Make Ahead Tips
For busy bakers, here are some make-ahead tips:
- Batter: You can prepare the chocolate cupcake batter ahead of time and store it in the fridge for up to 24 hours. Just give it a gentle stir before baking.
- Frosting: The frosting can be made in advance and stored in an airtight container in the refrigerator for up to a week. Just give it a quick re-whip before spreading.
- Baked Cupcakes: Once baked, the cupcakes can be stored at room temperature for up to two days before frosting.
Recipe Variations
Feel free to get creative with these variations:
- Filling: Add a surprise filling inside the cupcakes, like peanut butter, raspberry jam, or chocolate ganache.
- Frosting: Experiment with different frostings, such as cream cheese frosting, ganache, or whipped cream.
- Add-Ins: Mix in chocolate chips or nuts for added texture.
- Flour Alternatives: For a gluten-free version, substitute all-purpose flour with a 1:1 gluten-free flour blend.
How to Serve
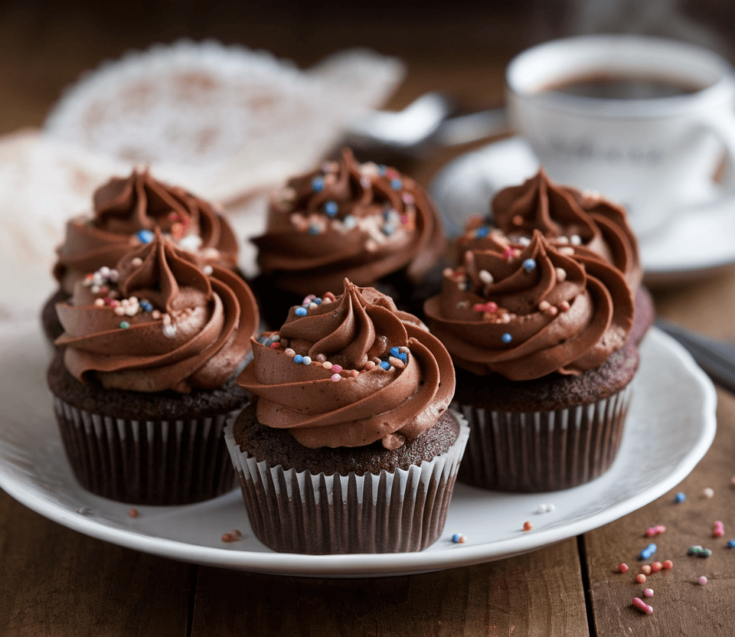
Serve these chocolate cupcakes with a dollop of frosting piled high on top. Garnish with sprinkles, chocolate shavings, or fresh berries for an extra touch. Arrange them on a beautiful cake stand or platter, and consider setting them against a backdrop of colorful napkins or a rustic wooden table for a charming presentation.
Pairing Suggestions
Pair your chocolate cupcakes with a rich cup of coffee or a glass of cold milk for a classic combination. For a more indulgent experience, consider serving them alongside a scoop of vanilla ice cream or a drizzle of chocolate sauce. If you prefer something lighter, a cup of herbal tea can beautifully balance the sweetness.
How to Store
To keep your chocolate cupcakes fresh:
- Room Temperature: Store frosted cupcakes in an airtight container at room temperature for up to two days.
- Refrigerator: If you need them to last longer, refrigerate for up to a week. Just be aware that refrigeration may slightly alter the texture.
- Freezing: Unfrosted cupcakes can be frozen for up to three months. Place them in a single layer in a freezer-safe container. Frost after thawing.
Equipment Needed
You’ll need:
- Mixing bowls
- Measuring cups and spoons
- A whisk or electric mixer
- Cupcake pan
- Cupcake liners
- Toothpick (for testing doneness)
Dietary Adaptations
To make these cupcakes more inclusive:
- Vegan: Substitute eggs with flax eggs or applesauce, and use dairy-free milk and vegan butter.
- Gluten-Free: Use a gluten-free flour blend to replace all-purpose flour.
- Nut-Free: Ensure all ingredients are certified nut-free and opt for nut-free dairy alternatives.
Seasonal Adaptations
Incorporate seasonal ingredients for a twist:
- Fall: Add pumpkin puree and spices for a pumpkin chocolate cupcake.
- Spring: Top with fresh strawberries or raspberries for a fruity touch.
- Winter: Incorporate peppermint extract in the frosting for a festive flavor.
Cost Breakdown
The estimated cost for making these cupcakes is around $10, yielding approximately 12 cupcakes, which breaks down to about $0.83 per cupcake. To save money, consider purchasing ingredients in bulk or using store brands.
Kitchen Hacks
Here are a couple of kitchen hacks to simplify the process:
- Quickly Melt Butter: Cut butter into smaller pieces and microwave in short bursts to melt it evenly.
- Easily Remove Cupcakes: Allow the cupcakes to cool in the pan for a few minutes before transferring them to a wire rack; this prevents them from sticking.
Recipe FAQs
1. Can I substitute cocoa powder with chocolate bars?
Yes, melted chocolate can be used, but it will alter the fat content and may require adjustments in the recipe.
2. What is the best way to know when cupcakes are done?
Insert a toothpick into the center; it should come out clean or with a few moist crumbs.
3. Can I use whole wheat flour instead of all-purpose?
Yes, but it may result in denser cupcakes. Consider using half whole wheat and half all-purpose for a lighter texture.
Chocolate Cupcake Recipe Without Buttermilk
Indulge your sweet tooth with these delightful Chocolate Cupcake Recipe Without Buttermilk, perfect for any occasion. This Chocolate Cupcake Recipe Without Buttermilk yields moist and fluffy cupcakes, rich in chocolate flavor, and topped with a luscious frosting that will make you swoon.
Ingredients
- 1 ½ cups all-purpose flour
- 1 cup granulated sugar
- ½ cup unsweetened cocoa powder
- 1 tsp baking soda
- ½ tsp salt
- 1 cup water
- ½ cup vegetable oil
- 1 tsp vanilla extract
- 1 tbsp apple cider vinegar
- 1 cup chocolate frosting (for topping)
Instructions
- Preheat your oven to 350°F (175°C) and line a cupcake pan with cupcake liners.
- In a large bowl, whisk together the flour, sugar, cocoa powder, baking soda, and salt until well combined.
- In another bowl, mix the water, vegetable oil, vanilla extract, and apple cider vinegar.
- Pour the wet ingredients into the dry ingredients and stir until just combined. Do not overmix.
- Fill each cupcake liner about 2/3 full with the batter.
- Bake in the preheated oven for 18-20 minutes, or until a toothpick inserted in the center comes out clean.
- Allow the cupcakes to cool in the pan for 5 minutes before transferring them to a wire rack to cool completely.
- Once cooled, frost with your favorite chocolate frosting and garnish as desired.
Nutrition Information
Yield
12Serving Size
1Amount Per Serving Calories 325Total Fat 14gSaturated Fat 3gTrans Fat 0gUnsaturated Fat 10gCholesterol 0mgSodium 253mgCarbohydrates 48gFiber 1gSugar 32gProtein 3g
TastyFitnessRecipes.com, occasionally offers nutritional information for recipes contained on this site. This information is provided as a courtesy and is an estimate only. This information comes from online calculators. Although tastyfitnessrecipes.com attempts to provide accurate nutritional information, these figures are only estimates.
Final Thoughts
These chocolate cupcakes without buttermilk are a fantastic treat that everyone will enjoy, from kids to adults. With their rich flavor and soft texture, they’re bound to become a favorite in your dessert repertoire. So gather your ingredients, preheat that oven, and get ready to bake up some delightful memories!