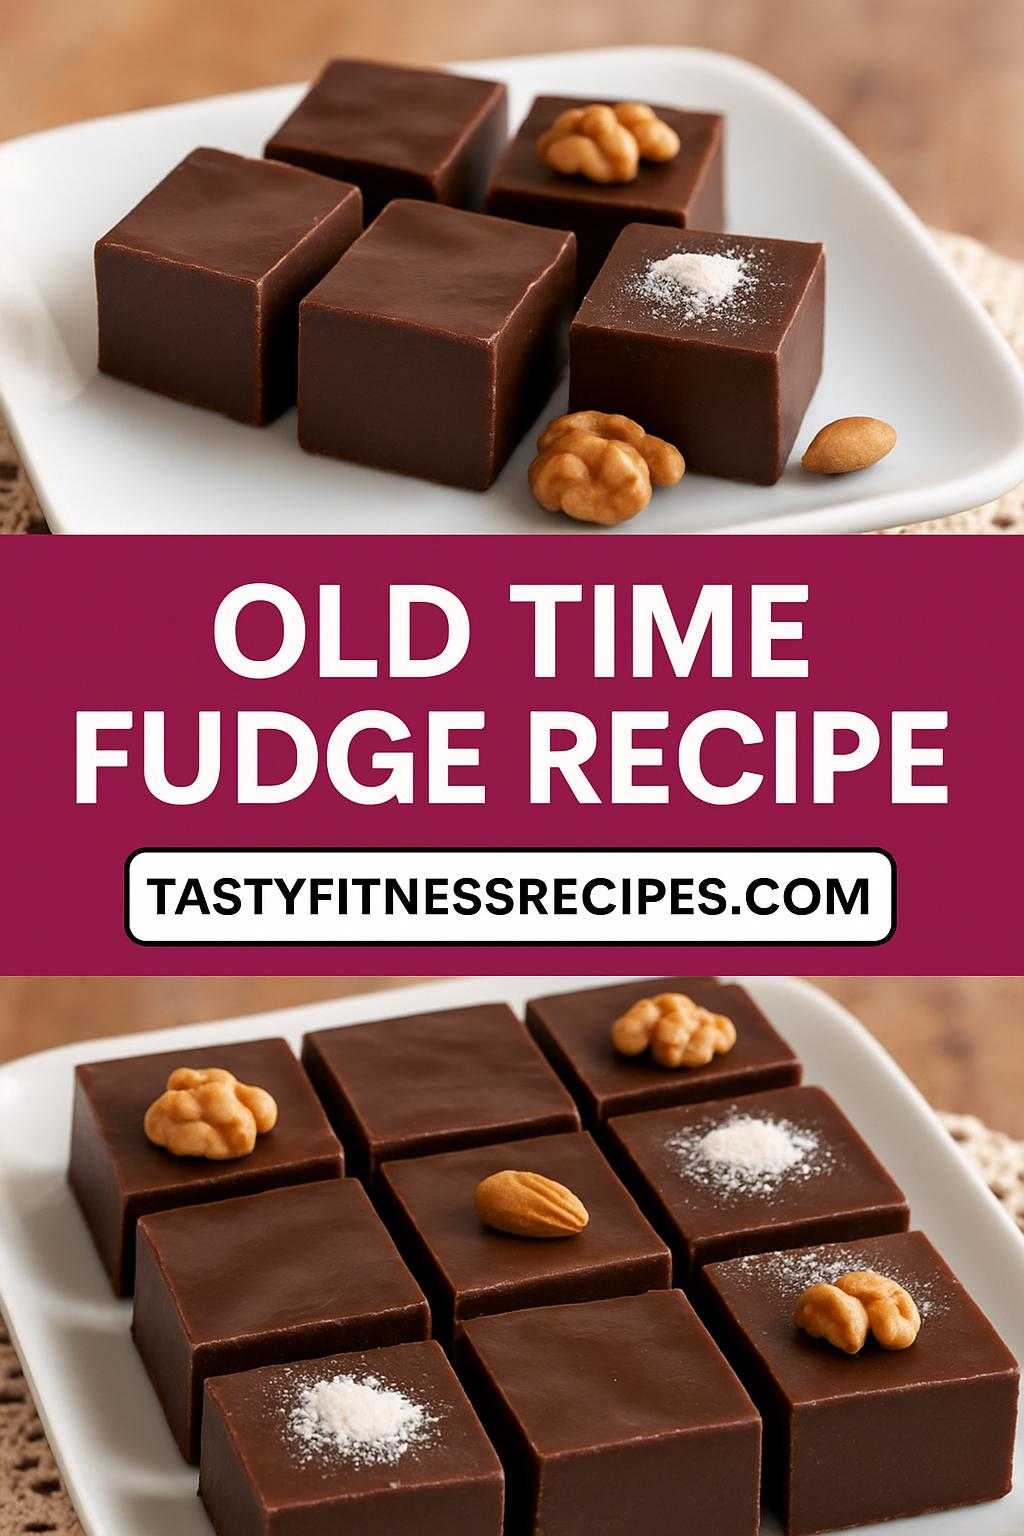
Old Time Fudge recipe brings back the nostalgic comfort of classic homemade sweets with its rich, creamy, and melt-in-your-mouth texture. This traditional fudge is sweet with deep chocolate flavors, made with simple pantry ingredients and perfected through time-honored techniques. It’s the quintessential treat for holidays, family gatherings, or anytime you crave a taste of old-fashioned indulgence.
Why You Will Love This Recipe
You will love this old time fudge recipe for its perfectly smooth, creamy consistency and rich chocolate flavor that isn’t overly sweet. It’s incredibly easy to make, requiring just a few ingredients and basic cooking skills—no fancy gadgets or complex steps needed. This fudge fits beautifully into classic dessert rotations and is great for gifting. Plus, it’s a naturally gluten-free treat that suits many dietary preferences when made with the right ingredients.
Tips and Tricks
- Use a candy thermometer to ensure your mixture reaches the exact temperature needed for proper setting (usually around 234°F to 240°F).
- Stir gently but consistently once your mixture hits boiling to prevent scorching.
- For the creamiest texture, beat the fudge vigorously after cooking to introduce air and encourage smooth crystallization.
- Use high-quality chocolate and fresh butter to enhance flavor.
- Line your pan with parchment paper for easy removal and cleaner cuts.
- Let fudge cool completely at room temperature before cutting to avoid crumbly pieces.
Make Ahead Tips
Fudge can be made several days in advance and stored in an airtight container at room temperature or refrigerated for up to 2 weeks. For longer storage, you can freeze fudge pieces wrapped tightly in plastic wrap and foil for up to 3 months. Thaw at room temperature before serving. Making it ahead allows flavors to mellow and texture to perfect.
Recipe Variations
- Swap semi-sweet chocolate for milk chocolate or white chocolate for a different flavor profile.
- Add chopped nuts such as walnuts, pecans, or almonds for crunch.
- Stir in mini marshmallows or dried fruit like cherries or cranberries.
- Flavor with a teaspoon of vanilla extract, peppermint extract, or a splash of bourbon.
- For a peanut butter twist, swirl in peanut butter before setting.
- Try a salted caramel fudge by adding a layer of caramel and sprinkling sea salt on top.
How to Serve
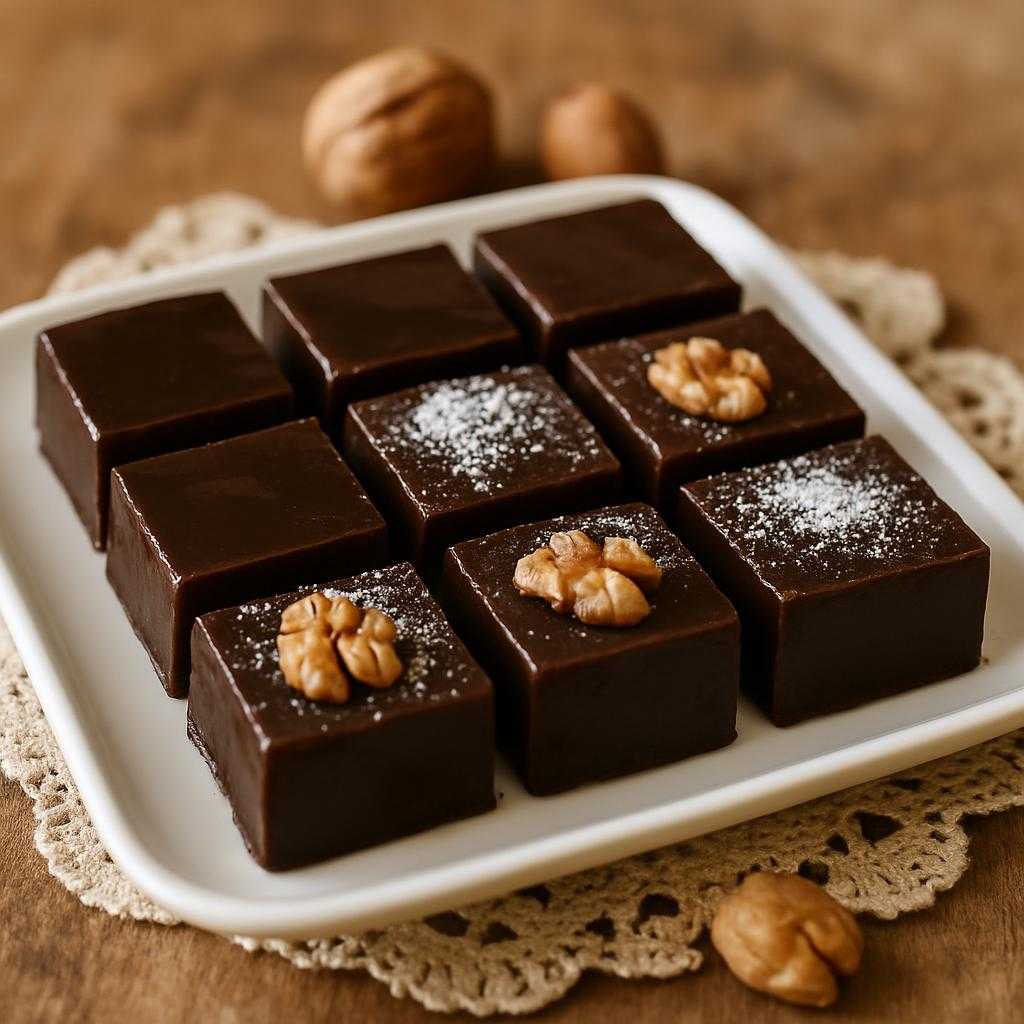
Cut the fudge into small, bite-sized squares for easy sharing. Arrange on a vintage dessert plate or a rustic wooden board for a classic look. Garnish with a light dusting of powdered sugar or a few whole nuts on top for added visual appeal. Serve at room temperature for the best creamy texture.
Pairing Suggestions
Pair old time fudge with a warm cup of black coffee or rich hot chocolate to complement the chocolate’s depth. For an adult twist, serve alongside a glass of tawny port or a robust red wine like Zinfandel. Light herbal teas, such as peppermint or chamomile, provide a refreshing balance. For sides, fresh berries or lightly salted nuts enhance the sweetness.
How to Store
Store fudge in an airtight container at room temperature away from heat or sunlight for up to 2 weeks. For extended storage, wrap fudge tightly and freeze it for up to 3 months. When ready to eat, thaw in the refrigerator overnight or at room temperature for a few hours. Avoid refrigeration if possible, as it can dry out the texture.
Equipment Needed
- Medium heavy-bottomed saucepan
- Candy thermometer (highly recommended)
- Wooden spoon or heat-resistant spatula
- 8×8-inch square baking pan or similar size
- Parchment paper or aluminum foil (for lining)
- Mixing bowl (for beating fudge)
- Measuring cups and spoons
Dietary Adaptations
- For a dairy-free version, substitute butter with coconut oil or vegan butter and use dairy-free chocolate chips.
- Use organic cane sugar instead of white refined sugar for a less processed option.
- To keep it nut-free, omit any nut additions or use seed butters like sunflower seed butter if adding swirls.
- Vegan fudge can be made using plant-based milk (like almond or oat milk) in place of evaporated milk or cream.
- For a lower-sugar option, experiment with sugar alternatives, though texture may vary.
Seasonal Adaptations
- During winter holidays, add warming spices like cinnamon, nutmeg, or cloves for a festive flavor.
- In summer, incorporate fresh mint or zest of citrus fruits for a bright twist.
- Autumn fudge can feature pumpkin spice or swirl in apple butter.
- Use seasonal nuts like pecans in fall or toasted coconut in summer for a seasonal flair.
Recipe FAQs
Q: Can I use a microwave to make old time fudge?
A: Traditional fudge benefits from stovetop cooking for precise temperature control, but microwave fudge recipes exist. For classic texture, stovetop is preferred.
Q: What if my fudge didn’t set?
A: It likely didn’t reach the proper temperature. Reheat gently, bring to soft-ball stage (234–240°F), and cool again.
Q: Can I substitute evaporated milk with regular milk?
A: Evaporated milk gives fudge its creamy consistency. Regular milk can be used but may require adjustments and result in softer fudge.
Q: How long does homemade fudge last?
A: Stored properly, it lasts up to 2 weeks at room temperature, or 3 months frozen.
Q: Why is my fudge grainy?
A: Graininess often results from sugar crystallization. Stir gently while heating and beat thoroughly after cooking.
Old Time Fudge

Old Time Fudge recipe brings back the nostalgic comfort of classic homemade sweets with its rich, creamy, and melt-in-your-mouth texture.
Ingredients
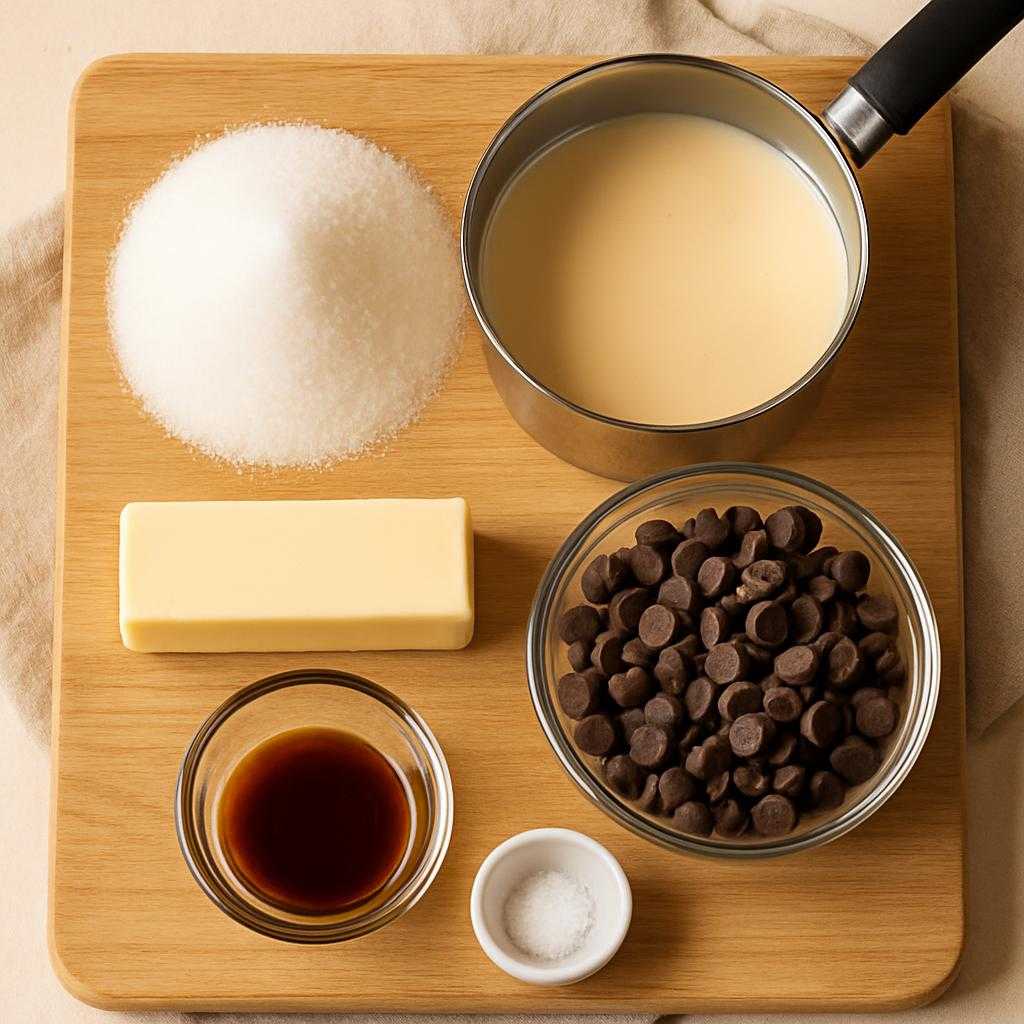
- 2 cups granulated sugar
- 2/3 cup evaporated milk
- 4 tablespoons unsalted butter
- 1 1/2 cups semi-sweet chocolate chips
- 1 teaspoon vanilla extract
- Pinch of salt
Instructions
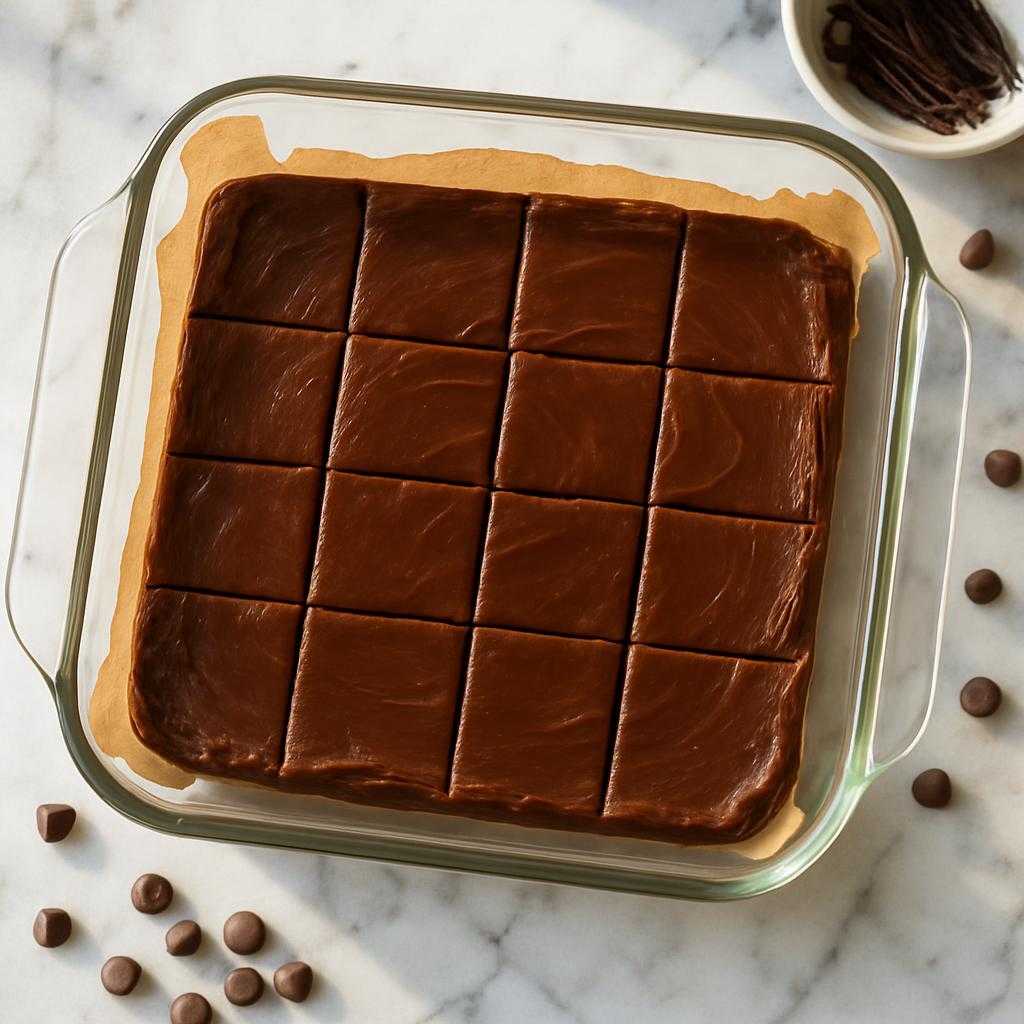
- Line an 8x8-inch pan with parchment paper, leaving edges hanging over the sides for easy removal. Set aside.
- In a medium heavy-bottomed saucepan, combine sugar, evaporated milk, butter, and salt.
- Cook over medium heat, stirring constantly until butter melts and sugar dissolves.
- Attach candy thermometer to the saucepan, ensuring it does not touch the bottom.
- Bring mixture to a boil, stirring occasionally to prevent scorching. Boil until the mixture reaches 234°F to 240°F (soft-ball stage). This takes about 5–7 minutes.
- Remove saucepan from heat immediately. Quickly stir in chocolate chips and vanilla extract until smooth and fully melted.
- Transfer the mixture to a large mixing bowl. Beat vigorously with a wooden spoon or electric mixer until the fudge thickens and loses its gloss, about 5 to 7 minutes.
- Pour the fudge into the prepared pan, spreading evenly with a spatula.
- Let the fudge cool at room temperature for at least 4 hours or until fully set. Avoid refrigeration for best texture.
- Once set, lift fudge out using parchment edges and cut into small squares. Serve and enjoy!
Nutrition Information
Yield
36Serving Size
1Amount Per Serving Calories 96Total Fat 4gSaturated Fat 2gTrans Fat 0gUnsaturated Fat 1gCholesterol 5mgSodium 10mgCarbohydrates 16gFiber 0gSugar 16gProtein 1g
TastyFitnessRecipes.com, occasionally offers nutritional information for recipes contained on this site. This information is provided as a courtesy and is an estimate only. This information comes from online calculators. Although tastyfitnessrecipes.com attempts to provide accurate nutritional information, these figures are only estimates.
Final Thoughts
Making old time fudge is a wonderfully rewarding experience that connects you to decades of sweet tradition. With just a handful of simple ingredients and careful attention to temperature, you can create a luscious, creamy treat that delights every time. This recipe is perfect for sharing with loved ones or gifting during special occasions. Once you master this classic, feel free to experiment with flavors and textures to make it your own timeless favorite. Happy fudge making!