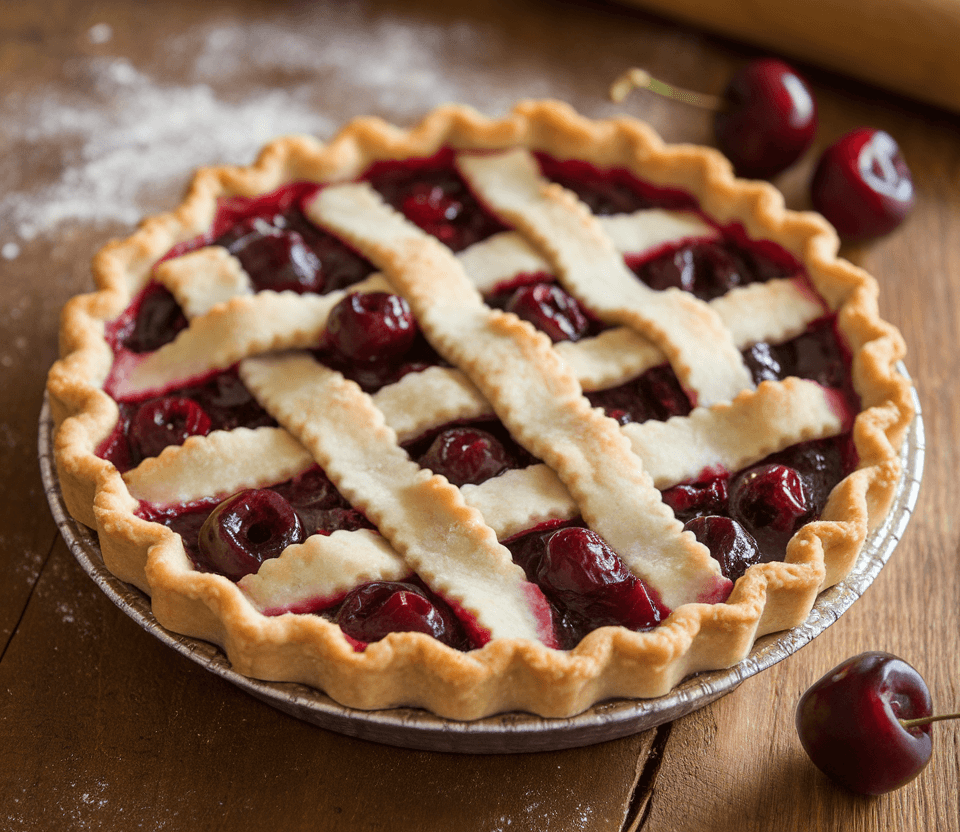
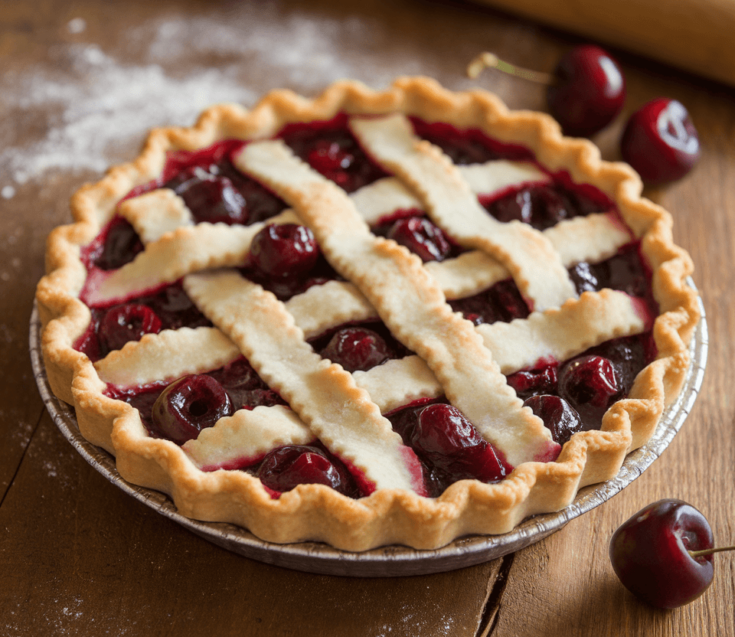
Cherry Pie is a classic dessert that evokes nostalgia and comfort, perfect for any occasion. With its flaky golden crust and luscious, sweet-tart cherry filling, this recipe captures the essence of summer in every bite. Whether served warm with a scoop of vanilla ice cream or enjoyed cold, this cherry pie is a show-stopping treat that will have your family and friends coming back for seconds.

Why You Will Love This Recipe
You’ll love this cherry pie recipe for its delightful balance of flavors and textures. The tartness of fresh cherries contrasts beautifully with the sweetness of sugar and the buttery, flaky crust. Plus, it’s surprisingly easy to make, requiring minimal ingredients and effort, making it perfect for both novice bakers and seasoned pros. This dessert fits well into a balanced lifestyle, allowing for indulgence without guilt, especially when using fresh, seasonal cherries.
Tips and Tricks
To ensure your cherry pie turns out perfectly, here are some handy tips:
- Always use fresh cherries when in season for the best flavor. If they’re not available, frozen cherries can be a great alternative—just be sure to thaw and drain them first.
- Pre-bake the crust for about 10 minutes before adding the filling to prevent a soggy bottom.
- For an extra layer of flavor, add a teaspoon of almond extract to the cherry filling.
- Use a pastry brush to apply an egg wash on the crust for a beautiful golden finish.
Common Mistakes to Avoid
Avoid these common pitfalls when making your cherry pie:
- Don’t skip the cornstarch or flour in the filling; they help absorb excess juice and prevent the pie from being runny.
- Be cautious with sugar; taste your cherries first. If they’re very sweet, you might not need as much sugar in the filling.
- Make sure to seal your pie crust properly; if there are gaps, the juices will leak out during baking.
Make Ahead Tips
You can prepare several components of this cherry pie in advance:
- The pie crust can be made and refrigerated for up to 3 days or frozen for up to a month before use.
- The cherry filling can be made a day ahead and stored in the refrigerator. Just make sure to let it cool completely before storing.
- If you want to save time on baking day, roll out the dough and place it in your pie dish, then cover it with plastic wrap and refrigerate until ready to fill.
Recipe Variations
Here are some fun variations to try:
- Swap out cherries for blueberries or raspberries for a berry pie.
- Add a tablespoon of lemon juice to the filling for a refreshing zing.
- Create a lattice crust for a beautiful presentation, or top with a crumb topping for added texture.
- For a unique twist, incorporate a splash of bourbon into the filling.

How to Serve
Serve this cherry pie warm or at room temperature. A scoop of vanilla ice cream on top creates a delightful contrast to the warm filling. Garnish with fresh mint leaves for a pop of color, and if you want to impress, drizzle a bit of chocolate sauce over the top for added indulgence.
Pairing Suggestions
Pair your cherry pie with a glass of chilled Riesling or a refreshing cherry-infused cocktail. For a classic touch, serve it with a dollop of whipped cream or a scoop of vanilla bean ice cream. Complement with a light salad or cheese platter for a balanced meal.
How to Store
Store any leftover cherry pie in the refrigerator, covered with plastic wrap or foil, for up to 4 days. If you want to keep it longer, you can freeze it for up to 3 months. To reheat, place slices in the oven at 350°F for about 10 minutes or until warmed through.
Equipment Needed
You will need a few essential kitchen tools:
- A 9-inch pie dish
- A mixing bowl
- A rolling pin
- A sharp knife for pitting cherries (or a cherry pitter)
- A pastry brush for the egg wash
If you don’t have a pie dish, any oven-safe shallow baking dish will work in a pinch.
Dietary Adaptations
To make this cherry pie vegan, substitute the butter in the crust for coconut oil or a vegan butter alternative, and use a plant-based milk for the egg wash. For a gluten-free version, use a gluten-free flour blend for the crust.
Seasonal Adaptations
In the spring and summer, fresh cherries are abundant and perfect for this recipe. In the fall, consider using canned or frozen cherries, which can still provide great flavor. If you want to lean into the seasonal theme, add spices like cinnamon or nutmeg in the fall for a cozy twist.
Cost Breakdown
This cherry pie is budget-friendly, costing approximately $10 to make, which serves about 8 people. Depending on the season and sales, cherries can vary in price, so buy them when they are in season for the best deals.
Kitchen Hacks
For a cleaner prep, pit cherries using a straw or a cherry pitter. To avoid sticky fingers, lightly coat your hands with flour when handling the dough. If your pie crust tears, simply patch it up with a little extra dough.
Recipe FAQs
Can I use frozen cherries instead of fresh? Yes, just make sure to thaw and drain them before using.
How do I prevent a soggy crust? Pre-bake the crust for a few minutes and ensure your filling isn’t too watery.
Can I make this pie without sugar? You can use sugar substitutes, but keep in mind that they may affect the texture and flavor.
Cherry Pie

Cherry Pie is a classic dessert that evokes nostalgia and comfort, perfect for any occasion. With its flaky golden crust and luscious, sweet-tart cherry filling, this recipe captures the essence of summer in every bite.
Ingredients
- 2 cups fresh or frozen cherries, pitted
- 1 cup granulated sugar
- 2 tablespoons cornstarch
- 1 tablespoon lemon juice
- 1 teaspoon vanilla extract
- 1 tablespoon butter, cut into small pieces
- 1 pre-made pie crust (or homemade if preferred)
- 1 egg (for egg wash, optional)
- Pinch of salt
Instructions
- Preheat your oven to 425°F (220°C).
- In a bowl, combine the pitted cherries, sugar, cornstarch, lemon juice, vanilla extract, and a pinch of salt. Stir until well mixed and let sit for about 10 minutes.
- Roll out your pie crust and place it in a 9-inch pie dish. Trim excess dough, leaving a slight overhang.
- Pour the cherry filling into the crust and dot with small pieces of butter.
- Roll out a second pie crust for the top. You can either cut slits for a lattice design or simply place it over the filling.
- Seal the edges of the crusts together and cut slits if necessary.
- Brush the top crust with an egg wash for a golden finish (optional).
- Bake for 15 minutes at 425°F, then reduce the temperature to 350°F (175°C) and bake for an additional 25-30 minutes, or until the crust is golden and the filling is bubbling.
- Allow to cool for at least 2 hours before serving to let the filling set.
Nutrition Information
Yield
8Serving Size
1Amount Per Serving Calories 244Total Fat 8gSaturated Fat 3gTrans Fat 0gUnsaturated Fat 4gCholesterol 27mgSodium 128mgCarbohydrates 42gFiber 1gSugar 29gProtein 2g
TastyFitnessRecipes.com, occasionally offers nutritional information for recipes contained on this site. This information is provided as a courtesy and is an estimate only. This information comes from online calculators. Although tastyfitnessrecipes.com attempts to provide accurate nutritional information, these figures are only estimates.
Final Thoughts
Making a cherry pie is not just about the delicious end result; it’s about the joy of baking and sharing with loved ones. Whether it’s a summer gathering or a cozy winter night, this pie brings warmth and happiness. I encourage you to try this recipe, adding your personal touch, and enjoy the sweet rewards of your labor. Happy baking!