Chili Crisp is a beloved condiment that originates from Chinese cuisine, known for its bold flavors and delightful crunch. This recipe captures the essence of traditional chili crisp but allows you to customize it to your taste. With a perfect balance of heat, umami, and texture, this chili crisp is a versatile addition to any meal, enhancing everything from stir-fries to avocado toast. Get ready to elevate your dishes with this homemade chili crisp that’s not only delicious but also incredibly easy to make.

Why You Will Love This Recipe
You’ll absolutely fall in love with this chili crisp recipe because it bursts with flavor and can be made in under an hour. The combination of aromatic spices, crunchy garlic, and spicy chili flakes creates a symphony of tastes that will wake up your palate. It’s perfect for those following a vegan or gluten-free diet, as it’s made from all-natural ingredients that are easily accessible. Plus, making your own chili crisp means you can control the spice level, ensuring it’s just as hot or mild as you prefer.
Tips and Tricks
Here are some tips to ensure your chili crisp turns out perfectly every time:
- Use high-quality oils: Opt for a neutral oil like grapeseed or canola for frying the aromatics, as they have a high smoke point and won’t overpower the flavors.
- Toast your spices: Toasting the spices before adding them to the oil enhances their flavors and adds depth to your chili crisp.
- Adjust the spice: If you’re unsure about heat levels, start with fewer chili flakes and gradually increase until you find your perfect balance.
- Store in a cool, dark place: This helps retain the vibrant colors and flavors of your chili crisp.
Common Mistakes to Avoid
A few common pitfalls can derail your chili crisp-making adventure:
- Overcooking the garlic: Garlic can turn from golden to burnt quickly, resulting in a bitter taste. Keep a close eye on it and remove it from the heat as soon as it becomes golden.
- Using too much moisture: Ensure that any ingredients, especially garlic or scallions, are thoroughly dried before adding them to the oil to avoid splattering and soggy texture.
- Skipping the resting time: Allowing the chili crisp to sit after cooking helps the flavors meld together beautifully, so don’t rush this step.
Make Ahead Tips
Chili crisp is a great make-ahead condiment. You can prepare it in bulk and store it for later use. It will stay fresh in an airtight container in the refrigerator for up to a month. If you want to save time, you can chop your garlic and scallions in advance and store them in the fridge until you’re ready to cook.
Recipe Variations
Feel free to play around with the ingredients in this chili crisp recipe:
- Swap out the chili flakes for Korean gochugaru for a sweeter heat.
- Add roasted peanuts or cashews for an extra crunch.
- Experiment with additional spices like cumin or fennel seeds for a unique twist.
- For a smoky flavor, include some smoked paprika or chipotle powder.
How to Serve
Chili crisp is incredibly versatile. Drizzle it over rice or noodles, spoon it into soups, or use it as a topping for grilled meats and vegetables. Serve it alongside dumplings or spring rolls as a dipping sauce. For an extra touch, garnish with chopped scallions or cilantro to brighten the dish.
Pairing Suggestions
Pair your chili crisp with a refreshing drink like iced jasmine tea or a light lager beer to complement the heat. For side dishes, consider serving it with steamed dumplings, fried rice, or a simple cucumber salad. If you’re in the mood for dessert, a scoop of coconut sorbet will cool down the heat beautifully.
How to Store
To store your chili crisp, let it cool completely before transferring it to an airtight container. It can be kept in the refrigerator for up to one month. If you want to freeze it, use ice cube trays to create portions. Once frozen, transfer the cubes to a zip-top bag and store in the freezer for up to three months.
Equipment Needed
You’ll need a heavy-bottomed saucepan or skillet for frying, a heatproof spatula for stirring, and an airtight container for storage. If you don’t have a deep saucepan, a small saucepan will work just fine; just be careful not to overcrowd it with ingredients.
Dietary Adaptations
This chili crisp recipe is naturally vegan and gluten-free. To make it nut-free, simply omit any nuts or seeds if you choose to add them. If you want a soy-free version, ensure you’re using a soy sauce alternative or omit it altogether.
Seasonal Adaptations
In the summer months, consider adding fresh herbs like basil or mint for a bright flavor boost. In the fall, roasted pumpkin seeds can add a seasonal twist to your chili crisp. During the winter, you might experiment with dried herbs like oregano for a warming touch.
Cost Breakdown
This chili crisp recipe is budget-friendly, with an estimated cost of around $5 for the whole batch, yielding about 16 servings. You can save even more by buying spices in bulk or opting for store brands.
Kitchen Hacks
To save time while making your chili crisp, try using a food processor to chop garlic and scallions quickly. When frying garlic, use a splatter screen to keep your stovetop clean. If you’re sensitive to onion and garlic odors, rub your hands with stainless steel after chopping to eliminate the smell.
Recipe FAQs
- Can I substitute the oil?
Yes, any neutral oil works, but avoid extra virgin olive oil as its flavor may overpower the spices.
- How long does it take to prepare?
The entire process takes around 30-45 minutes.
- Can I adjust the spice level?
Absolutely! Start with less chili and gradually add more to suit your taste.
- What can I use instead of scallions?
Chives or shallots are great alternatives if you want a milder flavor.
Chili Crisp
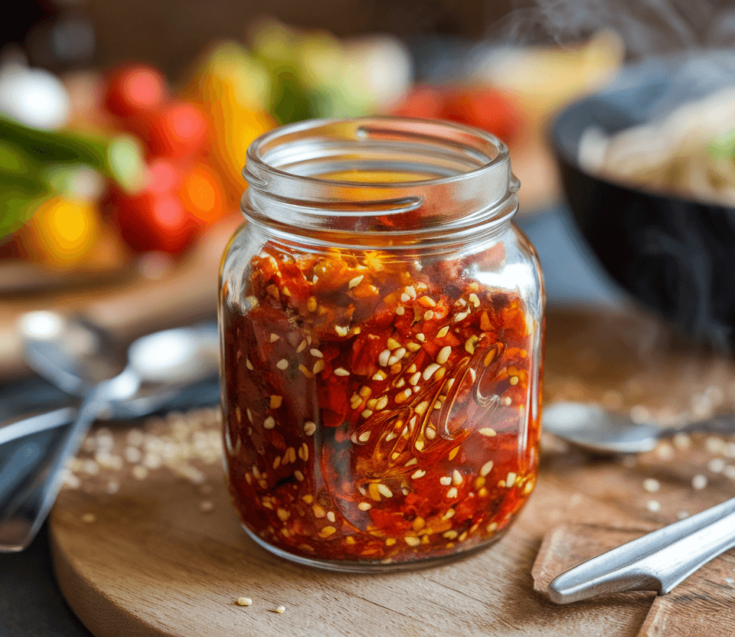
Chili Crisp is a beloved condiment that originates from Chinese cuisine, known for its bold flavors and delightful crunch. This recipe captures the essence of traditional chili crisp but allows you to customize it to your taste. With a perfect balance of heat, umami, and texture, this chili crisp is a versatile addition to any meal, enhancing everything from stir-fries to avocado toast.
Ingredients
- 1 cup neutral oil (like grapeseed or canola)
- 1/2 cup dried chili flakes
- 1/4 cup minced garlic
- 1/4 cup minced scallions (green parts only)
- 2 tablespoons soy sauce (or tamari for gluten-free)
- 1 tablespoon sesame seeds
- 1 teaspoon sugar
- 1 teaspoon salt
Instructions
- In a small saucepan, heat the neutral oil over medium heat until shimmering.
- Carefully add the minced garlic and cook, stirring frequently, until golden brown (about 2-3 minutes).
- Add the scallions and cook for another 1-2 minutes until fragrant.
- Remove the saucepan from heat and stir in the dried chili flakes, soy sauce, sesame seeds, sugar, and salt.
- Allow the mixture to cool completely before transferring it to an airtight container.
- Let it sit for at least an hour to allow the flavors to meld before using.
Nutrition Information
Yield
16Serving Size
1Amount Per Serving Calories 141Total Fat 15gSaturated Fat 1gTrans Fat 0gUnsaturated Fat 13gCholesterol 0mgSodium 243mgCarbohydrates 3gFiber 1gSugar 1gProtein 1g
TastyFitnessRecipes.com, occasionally offers nutritional information for recipes contained on this site. This information is provided as a courtesy and is an estimate only. This information comes from online calculators. Although tastyfitnessrecipes.com attempts to provide accurate nutritional information, these figures are only estimates.
Final Thoughts
Making your own chili crisp allows you to explore and personalize flavors in a way that store-bought versions often can’t match. With this simple recipe, you’ll have a versatile condiment that can transform any dish into something extraordinary. I encourage you to give it a try, experiment with your favorite ingredients, and enjoy the delightful crunch and heat it brings to your meals. Happy cooking!