This Cookie Icing recipe brings a delightful touch of creativity and sweetness to your baked goods. With its smooth, glossy finish and vibrant colors, this icing is perfect for decorating cookies for any occasion, from festive holidays to birthday celebrations. Not only is it easy to make, but it also sets beautifully, allowing you to create stunning designs that will impress family and friends. Whether you’re a seasoned baker or just starting out, this icing will elevate your cookie game to a whole new level.

Why You Will Love This Recipe
Readers will love this cookie icing recipe for its simplicity and versatility. The icing has a sweet and vanilla-tinged flavor profile that pairs perfectly with any type of cookie, from classic sugar cookies to gingerbread. The ease of preparation makes it accessible for bakers of all levels, and it fits beautifully into various diets as it can be modified to be egg-free and dairy-free. The vibrant colors you can achieve with this icing will not only make your cookies visually appealing but also add an element of fun to your baking experience.
Tips and Tricks
To ensure your cookie icing turns out perfectly every time, here are some tips and tricks:
- Use powdered sugar for a smoother consistency, as granulated sugar can create a gritty texture.
- To achieve the desired consistency, start with a small amount of water and gradually add more until you reach the perfect thickness for piping or flooding your cookies.
- If you want to create vibrant colors, gel food coloring is recommended over liquid coloring; it won’t alter the icing’s consistency.
- To prevent the icing from drying out while you’re working, cover it with a damp cloth or plastic wrap.
Make Ahead Tips
If you’re short on time, you can prepare your cookie icing in advance. The icing can be made and stored in an airtight container in the refrigerator for up to one week. When you’re ready to use it, simply give it a good stir and add a splash of water if it has thickened. You can also pre-color your icing in various shades and store them in piping bags, ready to decorate your cookies when the time comes.

Recipe Variations
This basic cookie icing recipe can easily be adapted to suit your preferences. Consider these variations:
- For a chocolate twist, add unsweetened cocoa powder to create chocolate icing.
- If you’re looking for a citrus flavor, add a few drops of lemon or orange extract.
- To make the icing more festive, try incorporating flavored extracts like almond or peppermint for the holidays.
- For a more natural color palette, use fruit and vegetable juices to tint your icing.
How to Serve
Once your cookies are iced and decorated, arrange them on a decorative platter for serving. You can enhance the presentation by sprinkling edible glitter or colored sugar on top of the icing for a festive touch. Pair your beautifully decorated cookies with a glass of milk or a cup of tea for a delightful treat that’s perfect for sharing during gatherings or celebrations.
Pairing Suggestions
For the perfect pairing, a glass of cold milk is always a classic choice to complement sweet cookies. Alternatively, a warm cup of herbal tea, such as chamomile or peppermint, can balance the sweetness beautifully. If you’re feeling adventurous, consider pairing with a light dessert wine or a fruity cocktail that matches the colors of your icing for a vibrant dessert table.
How to Store
To store your leftover cookie icing, place it in an airtight container in the refrigerator, where it will keep fresh for up to one week. If you have already decorated cookies, store them in a single layer in a cookie tin or between layers of wax paper to prevent smudging. For longer storage, you can freeze the icing in an airtight container for up to three months. Just thaw it in the refrigerator when you’re ready to use it again.
Equipment Needed
The tools needed for this recipe are minimal. You will need:
- A mixing bowl
- A whisk or electric mixer
- Measuring cups and spoons
- Piping bags or zip-top bags (for decorating)
- A sifter (for powdered sugar)
If you don’t have piping bags, you can easily make your own by cutting a small hole in the corner of a zip-top bag.

Dietary Adaptations
If you’re looking to adapt this cookie icing recipe for specific dietary needs:
- To make it vegan, use plant-based milk instead of traditional milk and ensure your powdered sugar is vegan-friendly.
- For a nut-free version, just be sure to check your food coloring and flavor extracts for any nut-based ingredients.
- If you need a gluten-free option, this icing is naturally gluten-free as long as you use gluten-free powdered sugar.
Seasonal Adaptations
Seasonal ingredients can add a unique twist to your cookie icing. In the fall, consider using pumpkin spice flavor or adding a touch of cinnamon to your icing. During the summer, incorporating fresh fruit juices can brighten up the flavors. Opting for seasonal colors in your food dye can also create a festive look for holidays like Halloween or Christmas.
Recipe FAQs
- Can I use regular sugar instead of powdered sugar? No, powdered sugar is essential for the smooth texture of cookie icing.
- How can I thicken my icing? Add more powdered sugar to thicken or reduce the amount of liquid until you reach the desired consistency.
- What can I substitute for corn syrup? You can use honey or agave syrup for a similar effect, but it may alter the flavor slightly.
- Can I make this icing ahead of time? Yes! You can make it up to a week in advance and store it in the refrigerator.
Cookie Icing

This Cookie Icing recipe brings a delightful touch of creativity and sweetness to your baked goods.
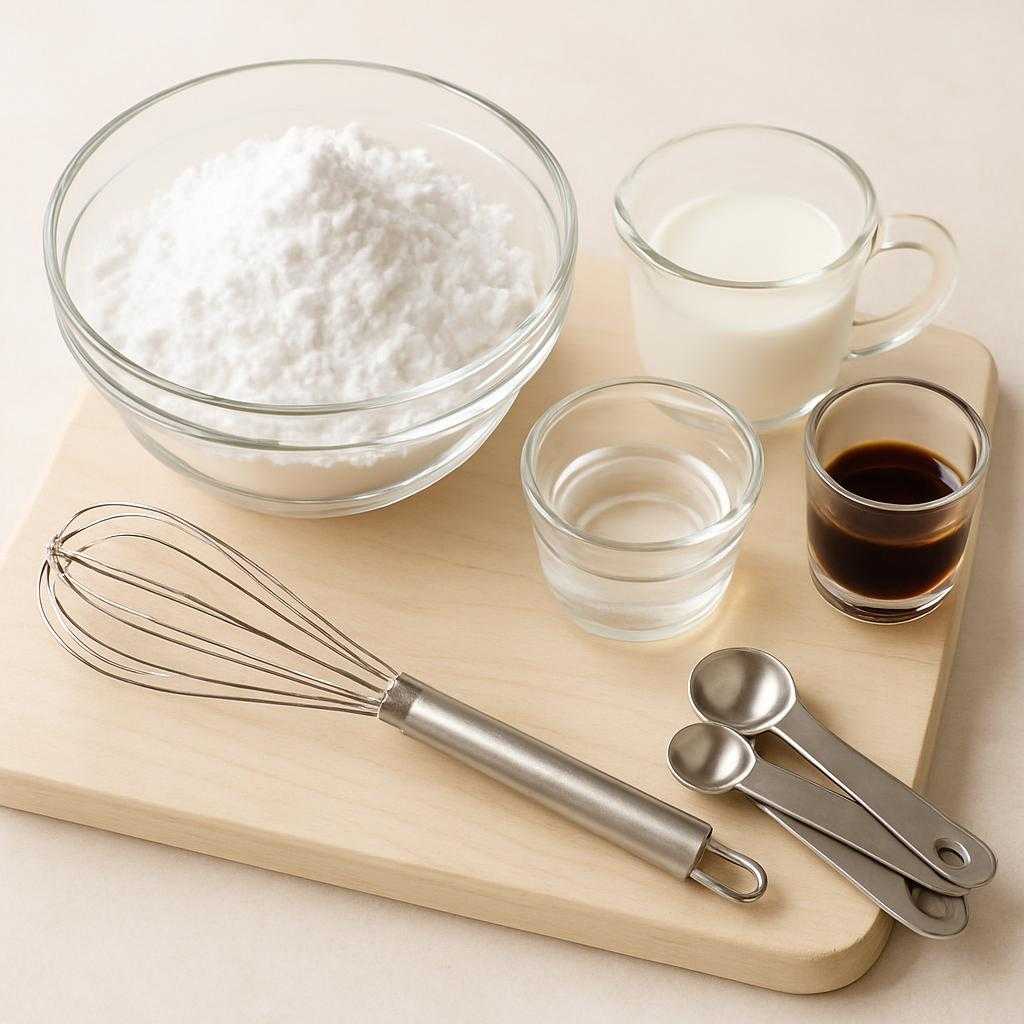
Ingredients
- 2 cups powdered sugar
- 2 tablespoons milk (or dairy-free alternative)
- 1 tablespoon light corn syrup
- 1 teaspoon vanilla extract
- Food coloring (optional)
Instructions
- In a medium mixing bowl, sift the powdered sugar to remove any lumps.
- Add the milk, corn syrup, and vanilla extract to the sifted powdered sugar.
- Using a whisk or electric mixer, beat the mixture until smooth and glossy. If the icing is too thick, add more milk a teaspoon at a time until you achieve the desired consistency.
- If using food coloring, divide the icing into separate bowls and add a few drops of coloring to each, mixing until you reach your desired hue.
- Transfer the icing to piping bags or use a spatula to spread it over your cooled cookies.
- Allow the icing to dry completely before stacking or serving the cookies.
Nutrition Information
Yield
2Serving Size
1Amount Per Serving Calories 472Total Fat 0gSaturated Fat 0gTrans Fat 0gUnsaturated Fat 0gCholesterol 1mgSodium 16mgCarbohydrates 119gFiber 0gSugar 117gProtein 1g
TastyFitnessRecipes.com, occasionally offers nutritional information for recipes contained on this site. This information is provided as a courtesy and is an estimate only. This information comes from online calculators. Although tastyfitnessrecipes.com attempts to provide accurate nutritional information, these figures are only estimates.
Final Thoughts
This cookie icing recipe is a must-try for anyone looking to add a personal touch to their baked treats. With its easy preparation and endless customization options, you can create beautiful, delicious cookies that will delight both the eyes and the taste buds. Don’t be afraid to experiment with flavors and colors; the joy of cookie decorating is in the creativity it inspires. So, roll up your sleeves, gather your ingredients, and let your imagination run wild!