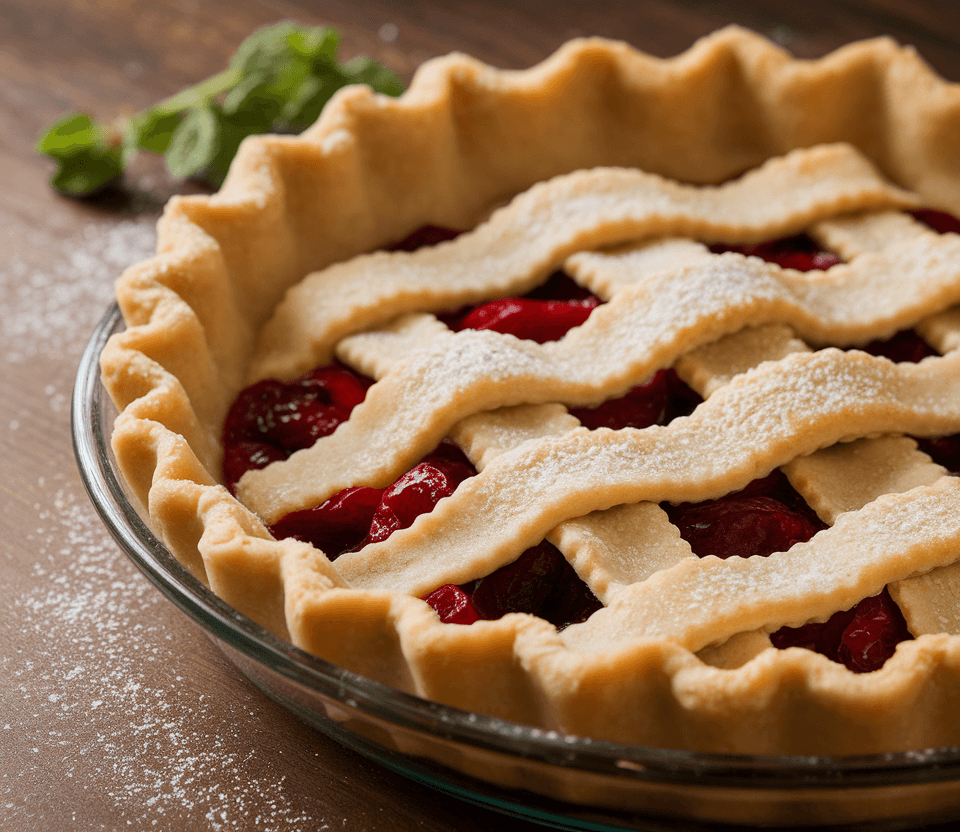
This Pie Crust recipe is the ultimate foundation for any pie lover’s culinary adventures. Flaky, buttery, and perfectly tender, it creates a delightful contrast to any filling you choose, whether sweet or savory. With just a handful of ingredients and a bit of patience, you can craft a homemade crust that elevates your pies from ordinary to extraordinary.
Why You Will Love This Recipe
You will fall in love with this pie crust recipe for its incredible flavor and texture. The balance of butter adds richness, while the cold water ensures the dough stays light and flaky. It’s straightforward enough for beginners but yields professional-quality results that will impress family and friends. Plus, this recipe fits well into a homemade lifestyle, allowing you to control what goes into your food and ditch those store-bought, preservative-laden options.
Tips and Tricks
To make your pie crust-making journey smoother, here are some helpful tips:
- Use cold ingredients: Ensure that your butter and water are very cold. This step is crucial for achieving that desired flakiness.
- Don’t overwork the dough: Mix until just combined. Overworking can develop the gluten and lead to a tough crust.
- Chill the dough: After mixing, let the dough rest in the refrigerator for at least 30 minutes. This helps relax the gluten.
- Use parchment paper: When rolling out the dough, place it between two sheets of parchment paper to prevent sticking and save time on clean-up.
Common Mistakes to Avoid
Here are some common pitfalls to steer clear of while making your pie crust:
- Skipping the chilling step: This is essential for a flaky crust.
- Not measuring flour properly: Too much flour can lead to a dry dough. Use a kitchen scale for precision.
- Rolling out too thin: Aim for about 1/8 inch thickness. If too thin, the crust may crack or break during baking.
- Forgetting to dock the crust: Poking holes in the crust before baking helps prevent bubbles from forming.
Make Ahead Tips
This pie crust can be made ahead of time, which is a great time-saver. You can prepare the dough and refrigerate it for up to 3 days before using it. For longer storage, wrap the formed disc tightly in plastic wrap and freeze for up to 3 months. Just be sure to thaw it overnight in the refrigerator before rolling it out.
Recipe Variations
Consider these variations to customize your pie crust:
- Whole Wheat: Substitute half of the all-purpose flour with whole wheat flour for a nuttier flavor and added fiber.
- Herb-Infused: Incorporate finely chopped fresh herbs like rosemary or thyme for a savory pie crust.
- Gluten-Free: Use a gluten-free all-purpose flour blend, ensuring it contains xanthan gum for structure.
- Sweetened: Add a tablespoon of sugar for a sweet crust perfect for dessert pies.
How to Serve
Serve this pie crust with your favorite fillings, be it a classic apple pie or a rich chocolate tart. For a beautiful presentation, brush the crust with an egg wash before baking for a shiny, golden finish. Consider garnishing with fresh fruit or a sprinkle of powdered sugar for sweet pies or a dollop of whipped cream or crème fraîche.
Pairing Suggestions
Enhance your pie experience with these pairing suggestions:
- For sweet pies, a glass of dessert wine, like Moscato, complements the flavors wonderfully.
- Serve a slice of savory quiche with a mixed greens salad and a light vinaigrette.
- Pair a rich chocolate pie with a cup of strong coffee or espresso for a delightful contrast.
How to Store
If you have leftover pie crust, you can store it in the refrigerator wrapped in plastic wrap for up to 3 days. For longer storage, freeze it in an airtight container for up to 3 months. To reheat, simply let it thaw overnight in the fridge and roll it out as needed.
Equipment Needed
You will need a few essential tools to make this pie crust:
- Mixing bowl: For combining ingredients.
- Pastry cutter or fork: To cut in the butter.
- Rolling pin: For rolling out the dough.
- Parchment paper: To prevent sticking while rolling.
- Pie dish: To hold your beautiful crust.
Dietary Adaptations
To adapt this recipe for various dietary needs:
- Vegan: Substitute butter with coconut oil or vegan butter, and use a flax egg (1 tablespoon ground flaxseed mixed with 2.5 tablespoons water) instead of any egg wash.
- Dairy-Free: Use plant-based butter or margarine.
- Nut-Free: This recipe is inherently nut-free, making it suitable for those with nut allergies.
Seasonal Adaptations
Consider seasonal ingredients to enhance your pie crust:
- In the autumn, incorporate spices like cinnamon and nutmeg for a warm flavor.
- In the summer, use fresh herbs or citrus zests for a bright, vibrant taste.
Cost Breakdown
The estimated cost for this pie crust recipe is around $2 to $3, depending on ingredient prices in your area. Budget-friendly swaps include using store-brand flour and butter.
Kitchen Hacks
Make your pie crust-making process more efficient with these hacks:
- Freeze your butter for 15 minutes before using it to make cutting in easier and faster.
- Use a bench scraper to lift and transfer rolled-out dough without damage.
- If you don’t have a rolling pin, a clean wine bottle works perfectly in a pinch!
Recipe FAQs
Can I use margarine instead of butter? Yes, margarine can work, but the flavor and texture may differ slightly.
How do I prevent my crust from shrinking while baking? Chill the crust in the refrigerator for at least 30 minutes before baking.
Can I freeze the pie crust? Absolutely! It freezes well for up to 3 months. Just make sure to wrap it tightly.
Pie Crust

This Pie Crust recipe is the ultimate foundation for any pie lover’s culinary adventures. Flaky, buttery, and perfectly tender, it creates a delightful contrast to any filling you choose, whether sweet or savory.
Ingredients
- 2 1/2 cups all-purpose flour
- 1 teaspoon salt
- 1 tablespoon granulated sugar (optional)
- 1 cup unsalted butter, cold and cubed
- 6-8 tablespoons ice water
Instructions
- In a large mixing bowl, combine the flour, salt, and sugar (if using).
- Add the cold, cubed butter to the flour mixture. Using a pastry cutter or fork, cut the butter into the flour until it resembles coarse crumbs.
- Gradually add ice water, one tablespoon at a time, mixing gently until the dough starts to come together.
- Turn the dough out onto a lightly floured surface and knead gently just until smooth. Form into a disc shape.
- Wrap the dough in plastic wrap and refrigerate for at least 30 minutes.
- Preheat your oven to 375°F (190°C).
- Roll out the chilled dough on a floured surface to your desired thickness. Carefully transfer it to a pie dish.
- Trim the excess dough and crimp the edges as desired. Dock the bottom with a fork to prevent bubbles.
- Fill with your chosen filling and bake according to your pie recipe’s instructions.
Nutrition Information
Yield
1Serving Size
1Amount Per Serving Calories 2814Total Fat 187gSaturated Fat 115gTrans Fat 0gUnsaturated Fat 62gCholesterol 488mgSodium 2151mgCarbohydrates 251gFiber 8gSugar 14gProtein 34g
TastyFitnessRecipes.com, occasionally offers nutritional information for recipes contained on this site. This information is provided as a courtesy and is an estimate only. This information comes from online calculators. Although tastyfitnessrecipes.com attempts to provide accurate nutritional information, these figures are only estimates.
Final Thoughts
Making your own pie crust may seem daunting, but with this recipe, you’ll discover just how simple and rewarding it can be. The flaky, buttery crust will elevate any filling, turning your pies into show-stoppers. So roll up your sleeves, gather your ingredients, and enjoy the process of creating something truly delicious! Happy baking!